




Contents: Removal ↓ Installation ↓
To perform repair work on removing and installing the front suspension strut on a VAZ 2110, you will need a reliable support for the car.
Removal
Warning: The front struts are replaced on both sides of the suspension at once.
1. Prepare the car for work (see "Preparing a car for maintenance and repair").
2. Remove the front wheel (see "Wheel - replacement").
3. Disconnect the steering rod end from the steering knuckle of the strut (see items 4-6 "Tie rod end - removal, installation, replacement").
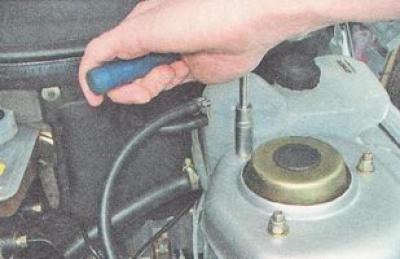
4. Using a 13 mm deep-head socket wrench, unscrew the three nuts securing the upper support of the front strut to the car body.
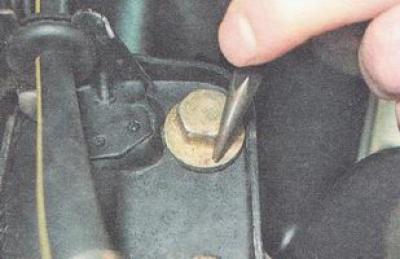
5. To return the previous wheel camber adjustment when installing the front strut, use a center punch or paint to make marks on the upper mounting bolt of the steering knuckle and the front strut bracket.
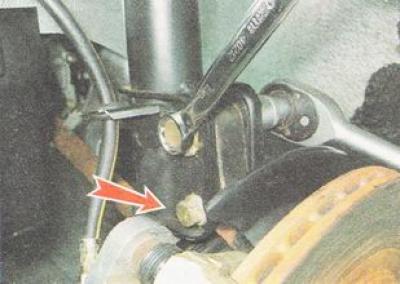
6. Using a 19 mm wrench, unscrew the nuts on the upper and lower mounting bolts of the steering knuckle to the front strut, holding the bolts from turning with a 17 mm wrench.
7. Remove the washers from the bolts (eccentric upper bolt washer) and remove the bolts.
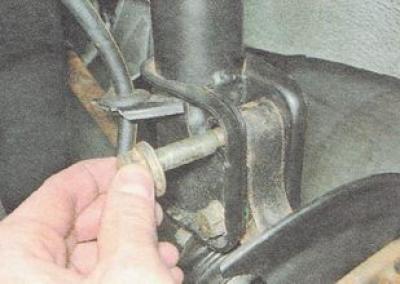
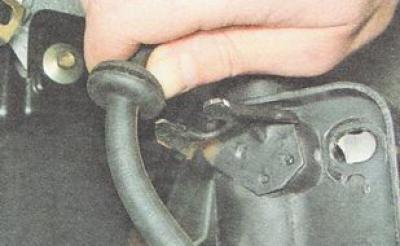
8. Remove the brake hose from the front strut bracket.
9. Remove the front strut assembly from the vehicle.
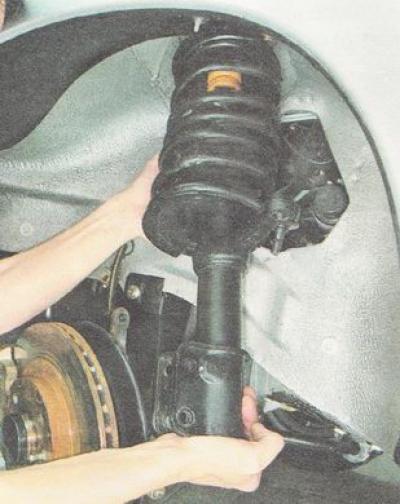
10. If the front strut fails, it must be replaced.
Installation
1. Install the front pillar and all removed parts on the vehicle in the reverse order of removal.
2. Tighten the nuts securing the upper support to the body to a torque of 19.6-24.2 N·m (2.0-2.4 kgf·m).
3. Before tightening the nuts of the steering knuckle-to-front strut mounting bolts, align the marks on the eccentric bolt and bracket.
4. Tighten the steering knuckle bolt nuts to a torque of 11.5-96.1 N·m (7.9-9.8 kgf·m).