




Note. If you hear knocking sounds in the wheel drive when turning the vehicle during operation, check the CV joints. Rock the drive shaft by hand. If there is play or the mudguards are torn, the CV joint must be replaced. There is practically no point in disassembling the joint: if the boot is torn, the dirt that has gotten into the joint has already rendered the CV joint parts unusable. Joint parts cannot be replaced separately.
1. Clamp the drive shaft in a vice.
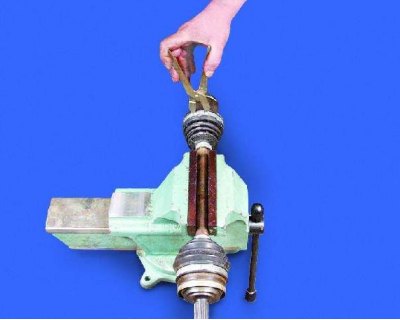
2. Remove the inner CV joint inner clamp.
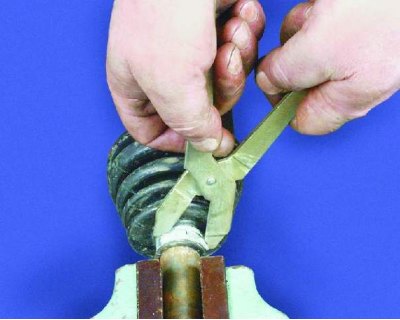
3. Remove the outer clamp of the inner CV joint.
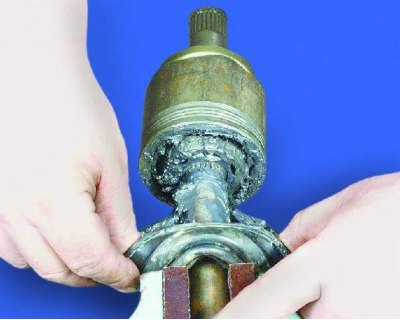
4. Slide the mudguard over the shaft and turn it inside out.
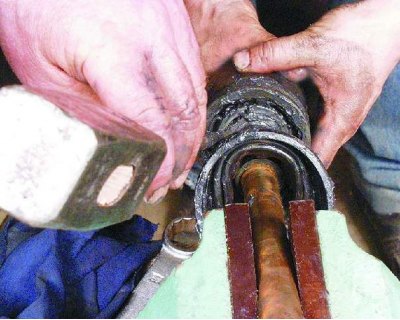
5. Using a punch, knock the inner CV joint off the shaft by applying force to the joint cage.
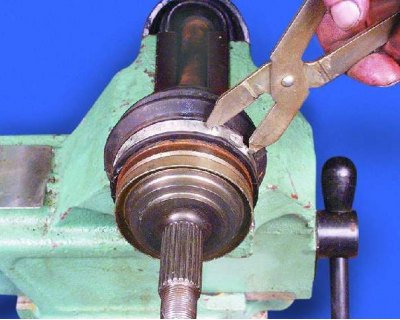
6. Remove the outer clamp of the outer joint.
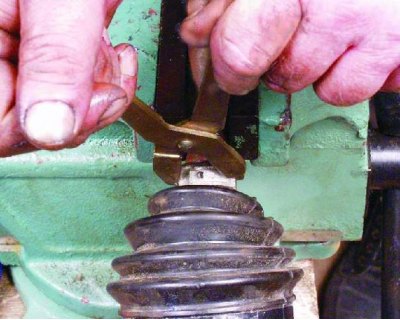
7. Remove the inner clamp of the outer joint.
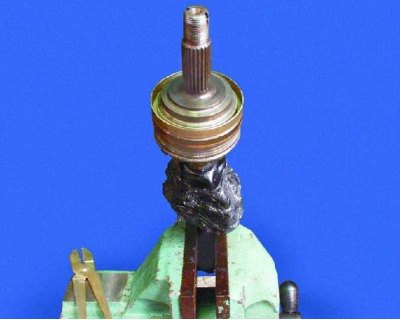
8. Slide the mudguard over the shaft and turn it inside out.
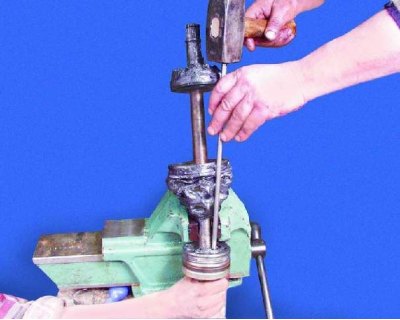
9. Using a punch, knock the outer CV joint off the shaft by applying force to the joint cage.
Install the CV joints on the shaft in reverse order, taking into account the following:
- Remember that the right drive shaft is longer than the left one.
- Check for grease in new CV joints. The outer joints should contain 40 cm³ of CV joint-4 grease, and the inner joints should contain 80 cm³. If you think it is not enough, add more – extra grease will not hurt.
Warnings!
- When installing CV joints, make sure that no dirt gets into them.
- Mudguard clamps are disposable: be sure to replace them when replacing CV joints. Do not install clamps of a different design.
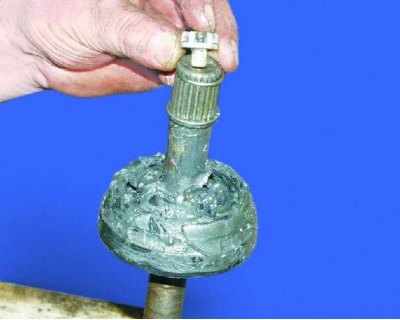
10. A plastic plug must be installed at the end of the shaft where the inner CV joint is installed.
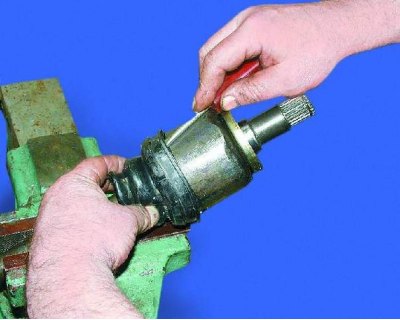
11. To equalize the air pressure inside and outside the case, press down on its edge with a screwdriver.
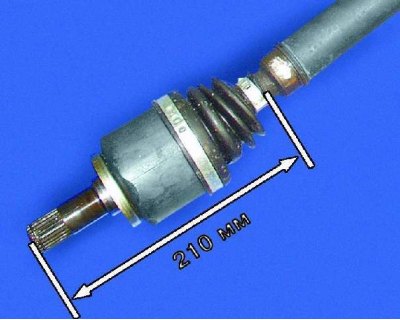
12. When installing the inner CV joint boot, maintain the dimension from the end of the CV joint nose to the small edge of the mudguard boot equal to 210 mm.
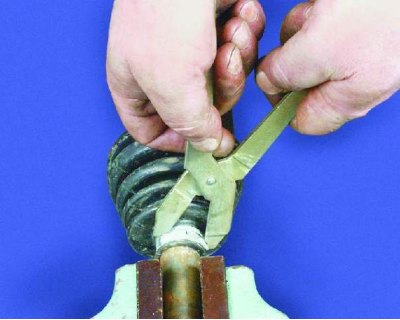
13. Tighten the clamps thoroughly using special pliers.