
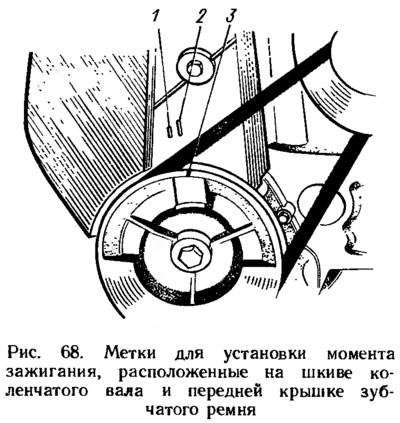
To check the ignition timing on the car, there is a scale 1 (pic. 67) in the hatch of the clutch housing and mark 2 on the flywheel. One division of the scale corresponds to 2°of rotation of the crankshaft. When the mark on the flywheel is aligned with the middle (long) by dividing the scale the pistons are in at. m. t. When running the engine on the stand, you can set the ignition moment using mark 3 (pic. 68) on the crankshaft pulley and marks on the front timing belt cover. Mark 1 corresponds to an ignition advance of 5°, and mark 2 corresponds to position c. m.t. pistons.
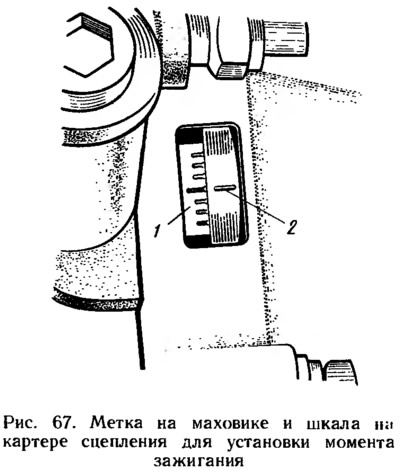
Check and set the ignition timing using a stroboscope, proceeding in the following order. Connect clamp «plus» stroboscope with terminal «plus», ground clamp - with terminal «minus» battery, and the strobe sensor clamp is connected to the high voltage wire of the first cylinder. Start the engine and direct a flashing stream of strobe light into the hatch of the clutch housing. If the ignition timing is set correctly, then when the engine is idling, the mark on the flywheel should not reach the middle division of the scale 1 by half a division (see fig. 67) in the direction of rotation of the crankshaft.
To adjust the ignition timing, stop the engine, loosen the nuts securing the spark torque sensor and turn it to the required angle. To increase the ignition timing, the body of the spark moment sensor should be turned clockwise, and to decrease it, counterclockwise (when viewed from the side of the spark torque sensor cover). Tighten the fastening nuts and check the ignition timing again.
For the convenience of adjusting the ignition moment, there are divisions and signs on the flange of the spark moment sensor «+» and «—», and on the body of auxiliary units - the mounting ledge (see fig. 67).
One notch on the flange corresponds to about 8°of crankshaft rotation.