




Attention! If after replacing the strut the car starts to pull to one side while driving, contact a specialized workshop for diagnostics of the front suspension, be sure to inform the repairman that the strut was replaced.
1. Raise and support the front of the vehicle. Remove the wheel.
Brake the car with the parking brake and install the anti-rollback stops ("shoes") under the rear wheels.
Loosen and tighten the wheel mounting bolts only with the vehicle on the ground. The tightening torque of the bolts is 65–95 N·m (6.5–9.5 kgf·m).
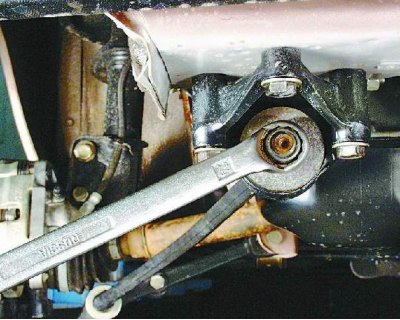
2. Loosen the front strut mount nut.
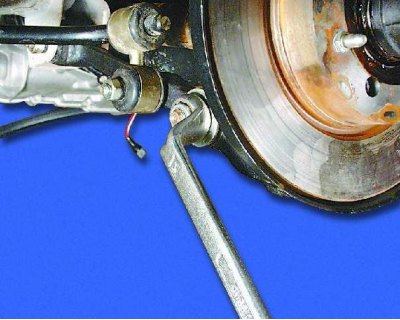
3. Loosen the rear strut mount nut.
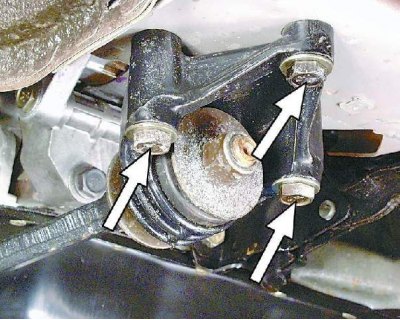
4. Unscrew the three nuts securing the tensioner bracket.
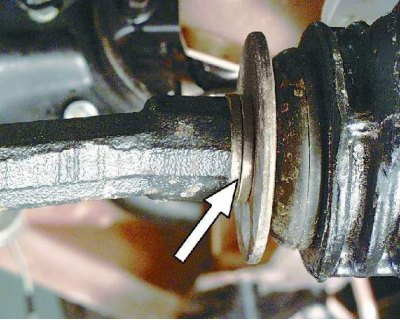
5. Be sure to count and record the number of shims from the front...
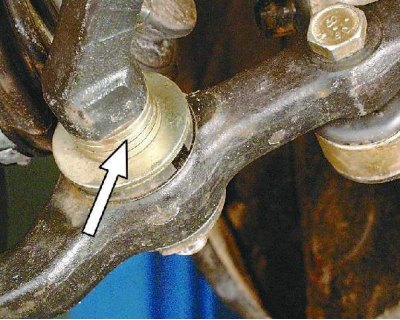
6....and the rear end of the stretch.
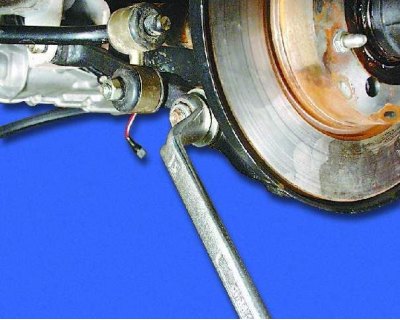
7. Finally, unscrew the fastening nut and remove the tensioner.
Notes:
- Carefully inspect the stretcher. If it is bent or there is damage to the rubber-metal hinges or aging, swelling or loss of elasticity of the rubber - replace the damaged parts.
- Often the brace bracket breaks when struck. If the bracket is damaged, replace it.
- To replace the rubber-metal joints of the tie rod, pressed into the bracket and the front suspension arm, a special tool and skill are required. We recommend that you contact a service station to perform this operation.
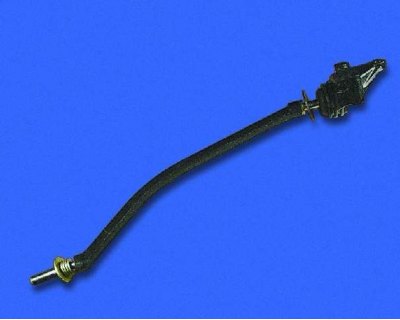
8. Finally, loosen the front strut mount nut and remove the strut from the bracket.
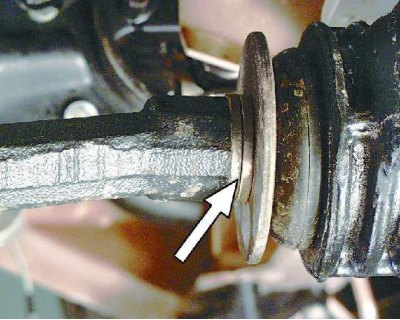
9. Install the new strut in reverse order. At the same time, install the same number of adjusting washers from the front...
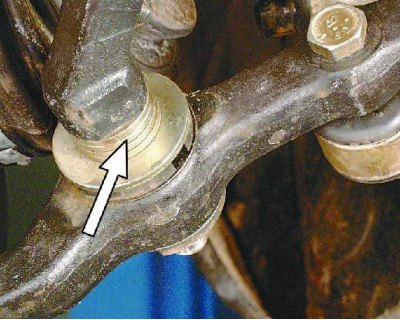
10....and the rear ends of the stretch, as much as there were before removal.
11. After lowering the car to the ground, rock it vigorously several times and tighten it to the appropriate torques: nuts securing the tie rod to the lever and to the bracket – 160–180 N·m (16.0–18.0 kgf·m), nuts securing the bracket to the body – 43–53 N·m (4.3–5.3 kgf·m). After driving 100 km, tighten these threaded connections again to the required torques.