
Brake the vehicle with the parking brake and place wheel chocks under the rear wheels ("shoes").
Loosen and tighten the wheel bolts only with the vehicle on the ground. Bolt tightening torque 65–95 Nm (6.5–9.5 kgf·m).
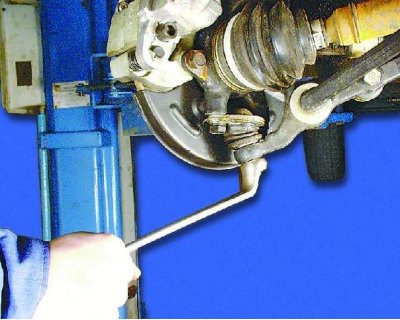
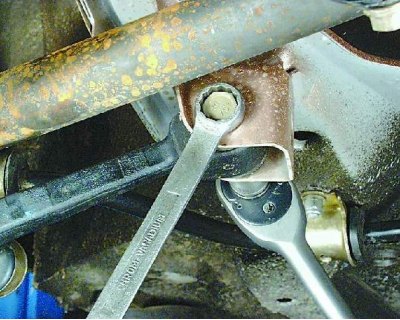
2. Loosen the ball joint nut.
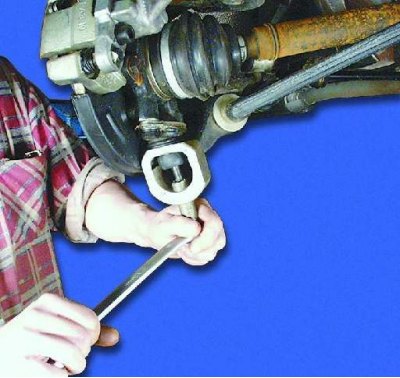
3. Using a puller, press the ball joint pin out of the lever. More see subsection 6.1.9., paragraphs. 3–4.
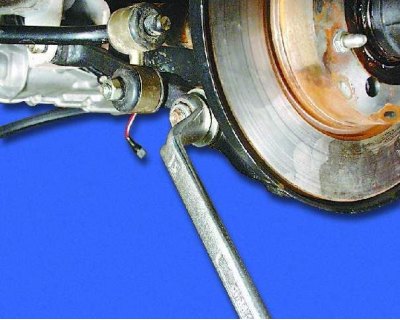
4. Loosen the rear brace nut.
5. Loosen the fastening nut and disconnect the anti-roll bar link from the arm.
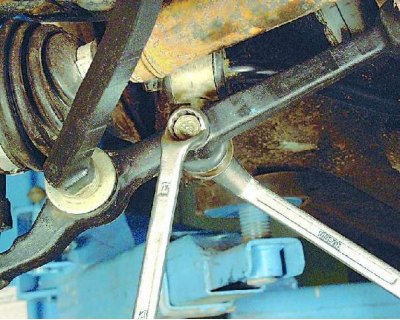
6. Loosen the nut securing the lever to the body bracket and remove the bolt.

7. Remove the lever.
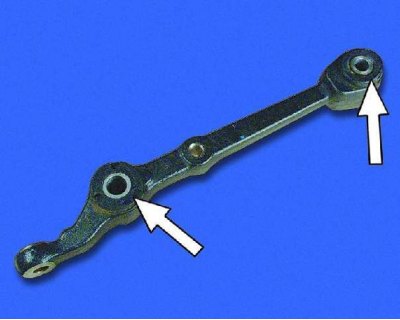
Carefully inspect the suspension arm and replace it in the following cases: a) the geometry of the lever is broken; b) rubber-metal hinges are torn, swollen on one side, or their rubber has lost elasticity.
Replacing rubber-to-metal linkage joints requires special tools and skill. In garage conditions, it is easier to replace the entire lever assembly.
8. Install the lever in reverse order. After lowering the car to the ground, rock it hard several times. Tighten to the appropriate torques: nuts for fastening the ball joint to the lever and fastening the lever to the body bracket - 80–96 Nm (8.0–9.6 kgf·m), nut for fastening the extension to the lever - 160–180 N·m (16.0–18.0 kgf·m), a nut of fastening of a rack of the stabilizer of cross stability to the lever - 42–52 N·m (4.2–5.2 kgf·m). After a run of 100 km, re-tighten these threaded connections to the required torque.