




- valve grinding tool;
- lapping paste.
Sequence of execution
1. Prepare the car for work (see "Preparing the car for maintenance and repair").
2. Remove the cylinder head (see "Cylinder head of engines 2112 and 21124 (16v) - removal and installation", or see. "Cylinder head of engines 2111 and 21114 (8v) - removal and installation").
3. To check the tightness of the cylinder head valves, place it on a horizontal surface with the mating surface facing up.
4. Fill the combustion chambers of the cylinder head with kerosene and wait a few minutes. If the kerosene level in any chamber decreases, then one or more valves are leaky.
Comment.The check is shown using the example of the cylinder head of an 8-valve engine. On a 16-valve engine, the check is carried out similarly.
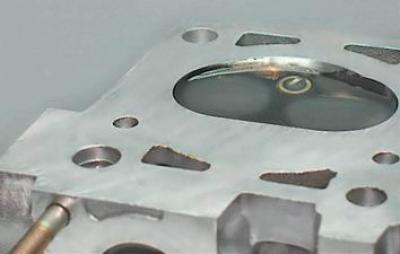
5. Remove the oil seal (see "Oil seals for engines 2112 and 21124 (16v) - replacement", or see. "Oil seals for engines 2111 and 21114 (8v) - replacement").
6. Remove the valve from the guide bushing.
Comment.The operation is shown using the example of a 16-valve engine cylinder head. On an 8-valve engine, the operation is performed similarly.
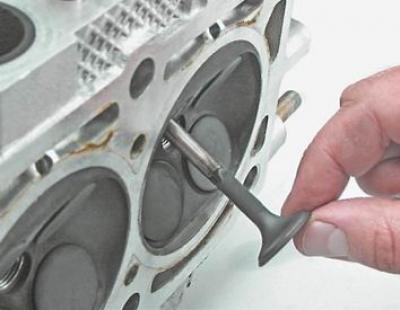
7. Apply lapping paste to the working edge of the valve.
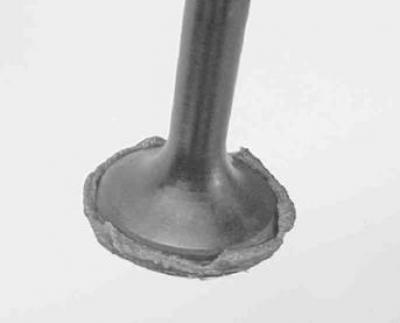
8. Install the valve into the cylinder head and attach the valve grinding tool to its stem.
9. Pressing the valve to the seat, turn it from side to side. After 10-15 movements, turn the valve 90° and continue grinding.
Comment.The operation is shown using the example of a 16-valve engine cylinder head. On an 8-valve engine, the work is carried out similarly
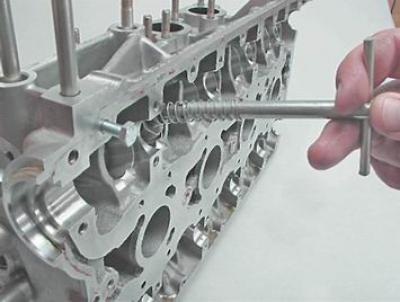
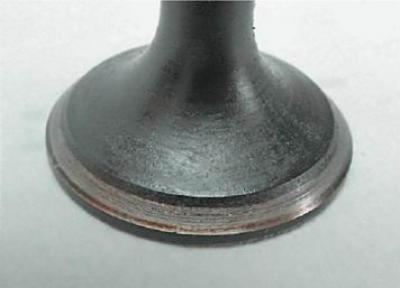
10. We grind until a uniform ring-shaped mark is formed on the valve plate...
The material is posted on the website: www.VAZbook.ru
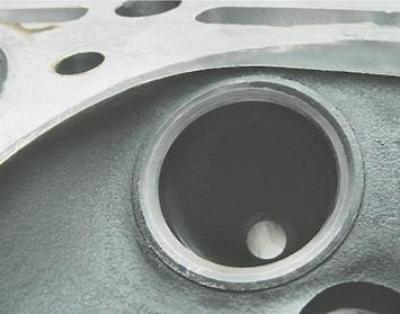
...and on his saddle.
11. Carefully remove any remaining lapping paste from the valve and its seat. Install the valve in place in the reverse order.
12. Similarly, we grind the remaining leaky valves.