
Removing the windshield heating duct (see Removing the central nozzles and air ducts for heated windows).
Take off the sun visors.
Gently squeeze the damaged windshield out of the opening, while the assistant holds the glass.
If the glass needs to be removed whole, then we start work from the upper corner of the windshield.
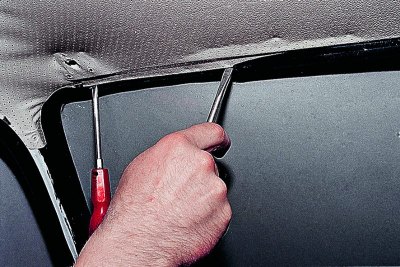
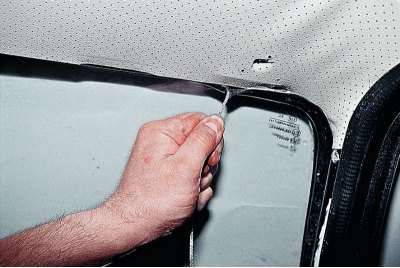
With a slotted screwdriver, we rest against the inner edge of the glass seal and fill it with a flanging. We fix the seal by inserting a screwdriver into the gap, but not deep so that the glass does not crack. With the second screwdriver, we continue to fill the sealant for the roof flanging.
First, we release the upper part of the glass, and then the two side ones. At the same time, we squeeze the glass out of the opening from both sides...
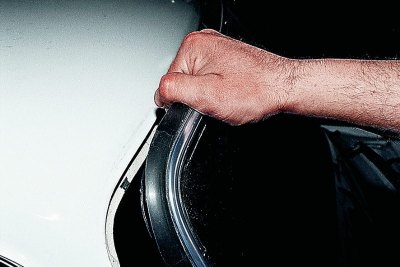
...and take it off.
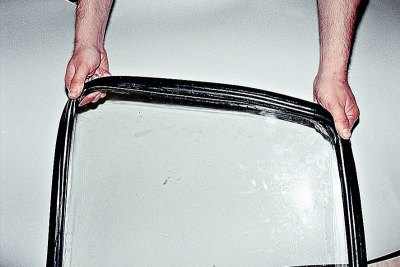
We remove the edging and the seal from the glass. The seal with hardened rubber or torn is replaced, suitable is cleaned and washed.
Lay the glass on a soft cloth.
We put a sealant on the glass, starting from the corners, and then around the entire perimeter.

We turn the glass over and fill the edging into the seal.
We close the edging joint with a lock.
Lubricate the seal groove with soapy water or a penetrating lubricant such as WD-40.
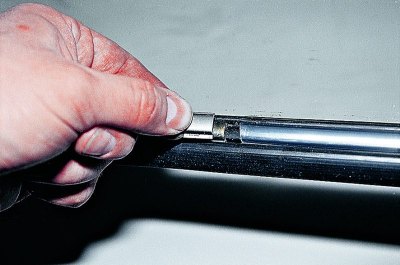
Having turned the glass over, we fill the groove of the seal with a cord 4-6 mm thick and a little longer than the perimeter of the glass.
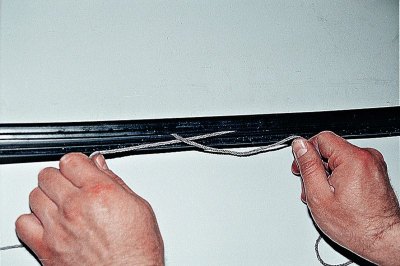
We overlap the ends of the cord in the middle of the lower edge of the glass.
We apply the glass to the opening of the body and center the glass.
The assistant from the outside gently presses the bottom of the glass, and in the cabin we pull the cord out of the seal, first at one end, and then at the second.
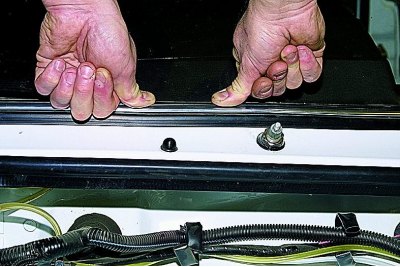
By pressing the seal with your fingers, we plant it deeper on the flanging.
Thus, we upset the entire lower part of the glass.
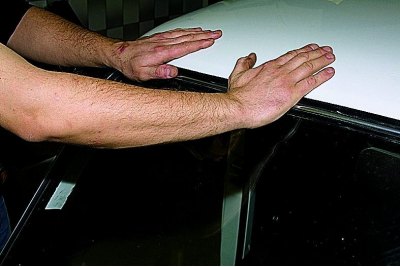
Gently strike the upper edge of the glass in a downward direction with the palm of your hand to upset the glass.
We stretch the cord along the sides of the glass.
We fill the upper edge of the seal, pulling out the cord in the direction from the edges to the middle.
The assistant, pressing the seal from the outside with his hand, puts it deeper on the flanging.
We install the dismantled parts and assemblies in the reverse order.