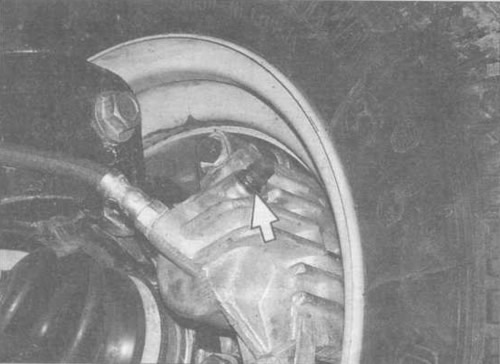
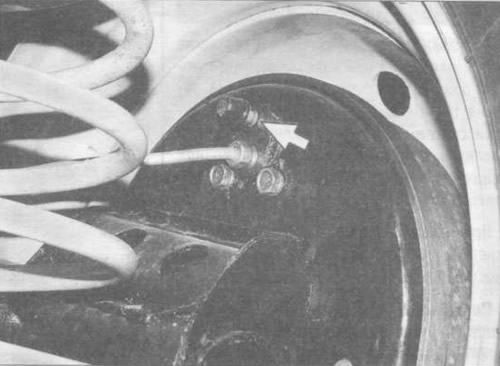
Rear wheel brake air release valve:
You will need: An 8 mm spanner, brake fluid, a rubber or transparent hose, and a transparent container.
Recommendations:
- It is recommended to replace the brake fluid with an assistant, having first placed the car on an inspection ditch, overpass or lift.
- Use only brake fluids recommended by the manufacturer (see appendix 2).
The order of replacing the fluid in the brake mechanisms:
- rear right;
- front left;
- rear left;
- front right.
Warnings:
- Do not reuse the fluid drained from the system: it is contaminated, saturated with air and moisture. Always add only new fluid of the same brand that was previously poured into the system.
- Brake fluid is hygroscopic (absorbs moisture from the surrounding air), therefore it cannot be stored in an open container.
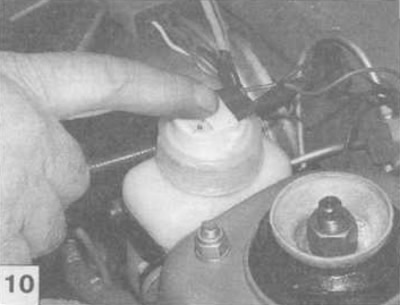
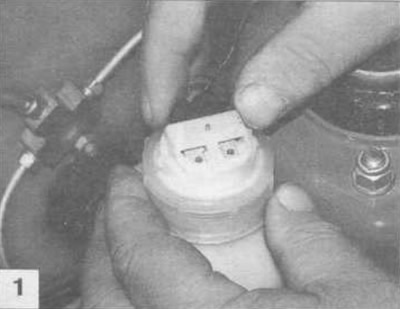
Unscrew the master cylinder reservoir cap, holding the low brake fluid level sensor housing, and place it on a clean rag. Be careful - brake fluid may drip from the float.
Clean the right rear brake release valve from dirt. Remove the rubber protective cap from the valve.
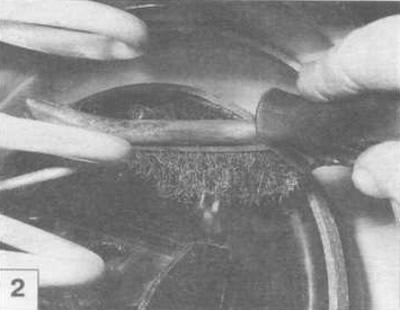
Place a rubber hose onto the valve fitting and place the end of the hose into a clean, clear container.
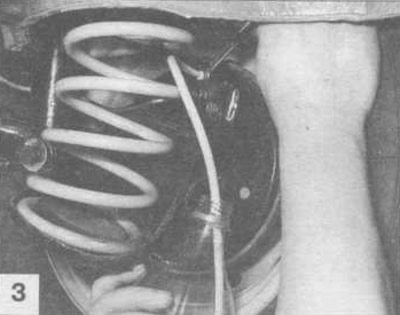
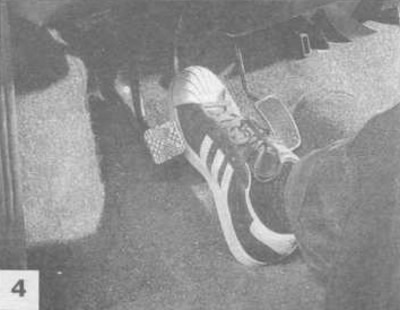
The assistant should press the brake pedal sharply 4-5 times (with an interval between presses of 1-2 s), then keep the pedal pressed.
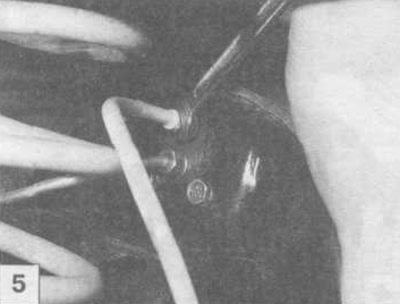
Loosen the air release valve by 1/2-3/4 of a turn. Old (dirty) brake fluid will start to flow out of the hose. The brake pedal should smoothly reach the stop. As soon as the fluid stops flowing, close the air release valve.
Constantly monitor the fluid level in the reservoir, not allowing it to drop to the lower edge of the reservoir mounting bracket, and add new brake fluid if necessary. Repeat steps 4 and 5 until new (clean) brake fluid begins to flow out of the hose.
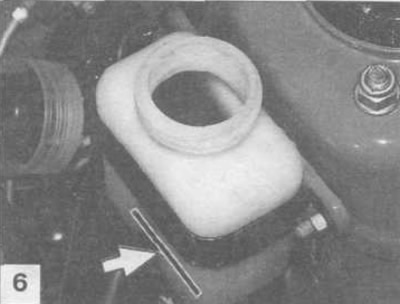
In the same way, replace the brake fluid in the left front brake mechanism, and then in the second circuit (first in the left rear brake mechanism, then in the right front). Press the brake pedal several times. The pedal travel and resistance should be constant with each press. If these conditions are not met, then air has entered the brake system and it needs to be bled (see subsection 3.27).
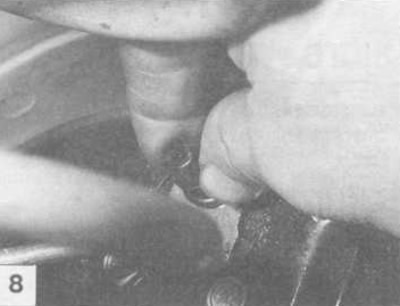
After replacing the brake fluid, be sure to replace the protective caps on the air bleed valves.
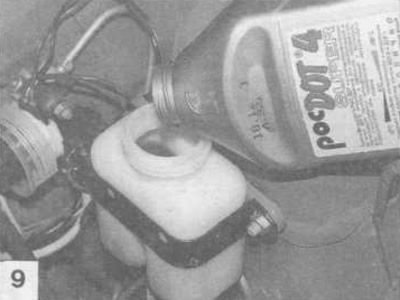
Add brake fluid to a level of 4-5 mm from the lower edge of the filler neck of the reservoir. Screw on the reservoir cap.
The original is posted on Internet resource VAZBOOK
Check the operation of the brake fluid low level sensor installed in the reservoir cap. To do this, turn on the ignition and press the rod on the reservoir cap - the control lamp in the instrument cluster should light up (see subsection 1.11).