
- three and two-jaw pullers (see point 12 "Special tools and fixtures");
- sliding circlip pliers (see point 8 "Special tools and fixtures");
- cup puller (see point 15 "Special tools and fixtures").
Removing
1. We prepare the car for work (see points 1, 2a and 3 "Preparing the car for maintenance and repair").
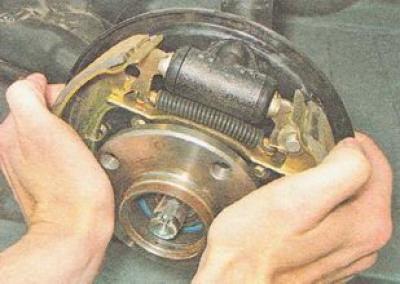
2. Remove the brake drum (see "Brake drum - removal and installation").
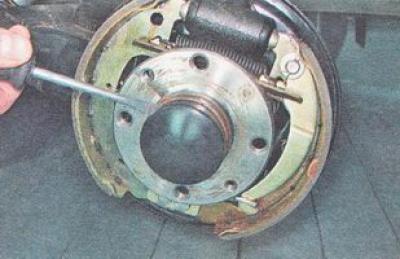
3. Using a slotted screwdriver, remove the hub cap on the rear wheel.
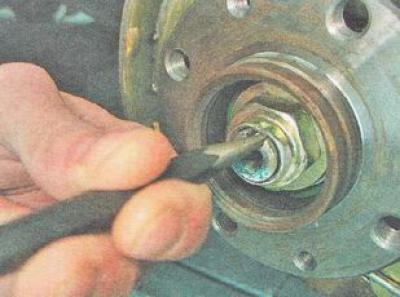
Warning. Attempting to unscrew the hub axle nut without straightening its jammed edge will damage the threads on the axle and the hub axle will need to be replaced.
4. Tapping on the center punch with a hammer, we bend the edge of the nut jammed into the groove of the hub axis.
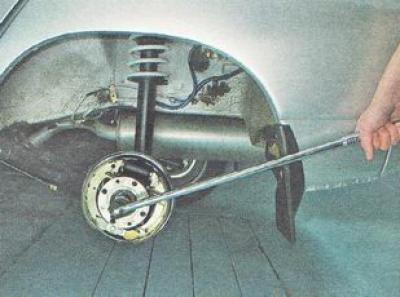
5. Using a 30 mm socket wrench with a long collar, unscrew the hub nut.
6. Remove the nut and thrust washer of the rear wheel hub nut.
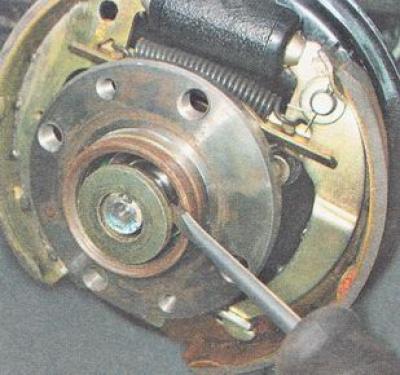
7. Using a three-arm puller, we press the hub from the axle together with the bearing.

8. If the rear hub bearing has collapsed, and its inner ring remains on the axle, then we press it with a two-jaw puller, setting its grips in special recesses.
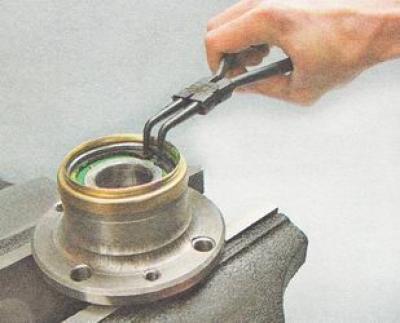
9. Install the hub in a vise.
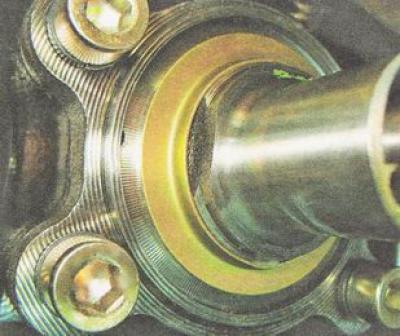
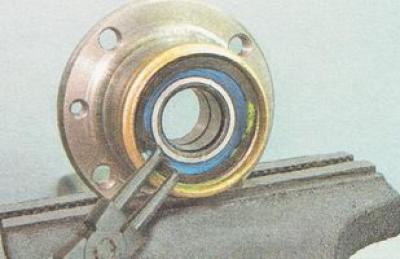
10. Using special pliers, we compress and remove the retaining ring of the rear hub bearing.
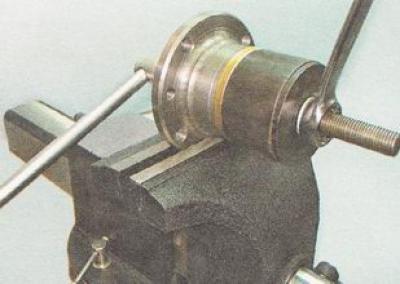
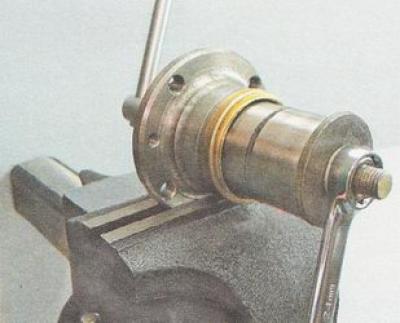
11. Use a cup puller to press the bearing out of the rear hub.
Installation
Warning. When pressing the hub bearing, force can only be applied to its outer ring.
1. Using the outer ring of the old hub bearing as a mandrel, press the new bearing into the hub with a puller.
2. Install the hub bearing snap ring.
3. Install the hub on the axle.
4. Install thrust washer and new hub nut.
5. Wrapping the nut, press the bearing onto the hub axle.
6. Install the brake drum and wheel.
7. We lower the car on wheels.
8. Tighten the hub nut to a torque of 186.3-225.6 N·m (19-23 kgf·m) and we jam the edge of the nut into the groove of the hub axis.
9. We put a cap on the hub and a decorative cap on the wheel.