




Contents: Checking and removing ↓ Installation ↓
To perform repair work on checking ignition coils you will need: a multimeter (in ohmmeter and voltmeter mode).
Checking and removing
1. We are preparing the vehicle for repair work (see points 1 and 2 "Preparing a car for maintenance and repair").
2. Remove the decorative engine cover (see "Engine trim - removal and installation").
3. Press the locking tab of the wiring harness connector.
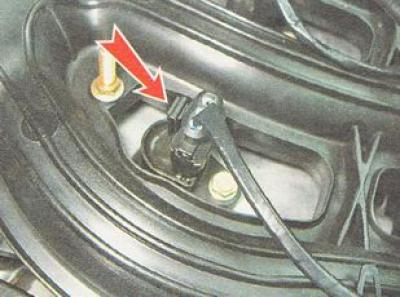
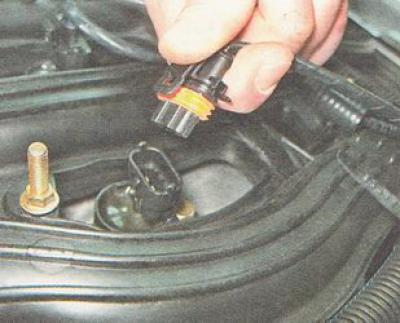
While holding the retainer in this position, disconnect the wire connector from the ignition coil of the first cylinder.
4. Turn on the ignition and measure the voltage at terminal 3 of the wiring harness connector with a voltmeter (the terminal numbers are marked on the ignition coil).
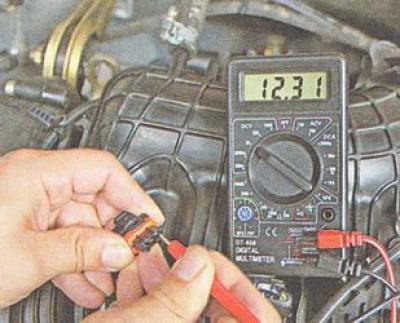
5. Similarly, we check the supply voltage of the second, third and fourth cylinders.
Note: The voltage at the terminal must be at least 12 V. If the voltage does not reach the connector or is less than 12 V, the battery is discharged, there is a fault in the power supply circuit, or the ECU is faulty.
Warning: After completing the voltage measurement, turn off the ignition on the vehicle.
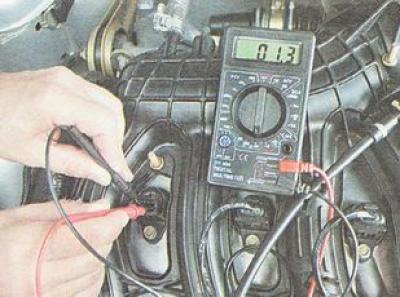
6. Using an ohmmeter, measure the resistance between the terminals.
(The information can be read on the website www.VAZbook.ru)
Note: The electrical resistance between terminals 1-3 of the ignition coil should be close to zero (about 1 Ohm). The resistance between terminals 1-2 and 2-3 of the ignition coil should be large (strive for infinity). A faulty ignition coil must be replaced.
7. Using a 10 mm socket wrench, unscrew the bolt securing the coil to the cylinder head.
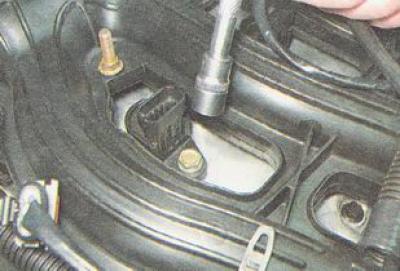
8. Remove the coil from the cylinder head.
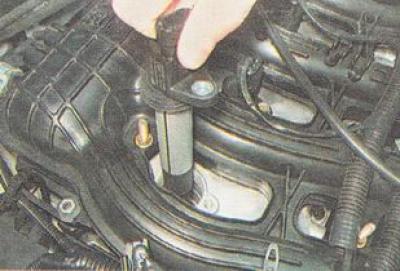
Installation
We install all removed parts on the car in the reverse order of removal.