
- key "at 13"
- screwdriver
- hammer
The gear lever should turn freely, without jamming, in the ball joint. If not, check and if necessary replace the ball joint and spherical washer. If, after sinking down to the stop, the lever does not fully return to its original position, check and, if necessary, replace the spring.
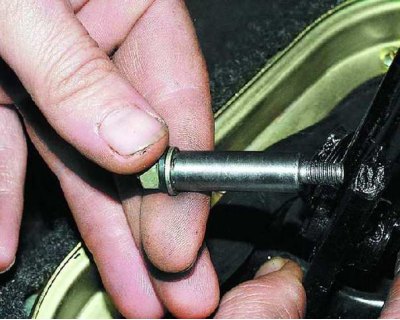
1. From inside the passenger compartment, disconnect the gear lever from the bracket by removing the lever axle (see subsection 11.1.10.).
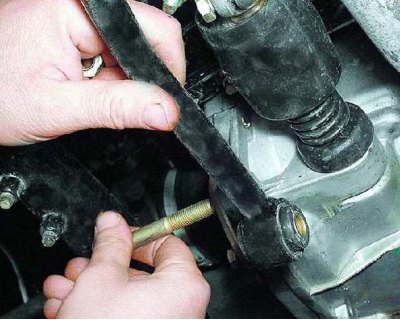
2. From the bottom of the car, disconnect the jet link from the gearbox (see subsection 11.1.1., operations 10–15).
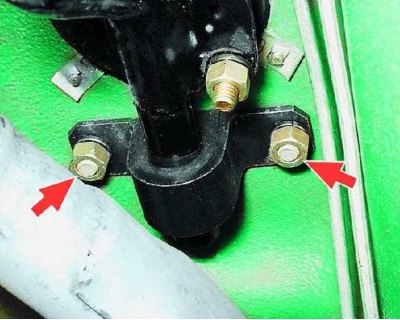
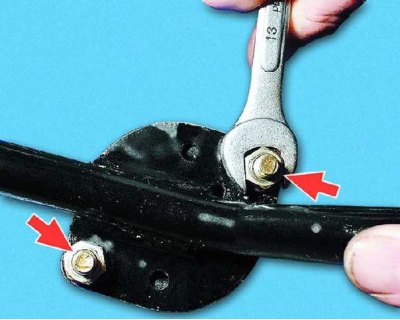
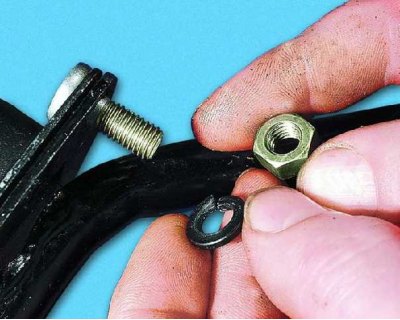
3. Remove the two nuts securing the tie rod bracket to the body.

4. Note that there is a spring washer under each nut.
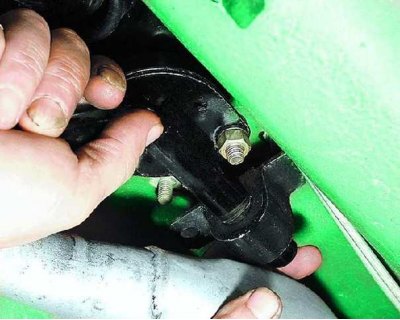
5. Remove the lever assembly with jet thrust.

6. Bend back the three retaining tabs.
7. Remove the lever from the hinge cage.
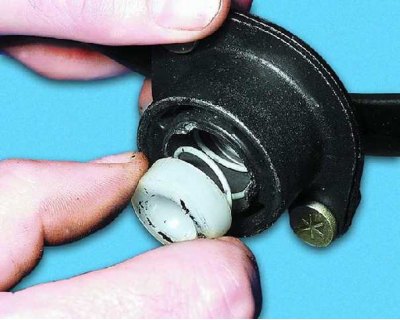
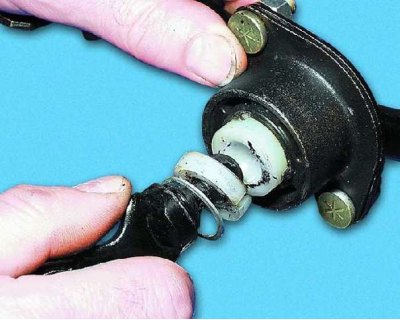
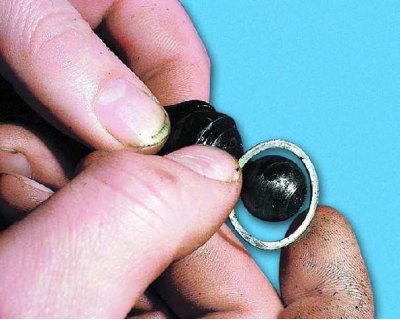
8. Remove the ball joint from the cage.
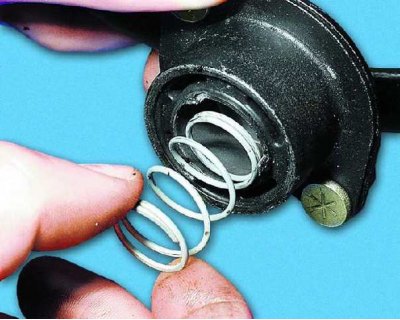
9. Remove the spring from the holder.
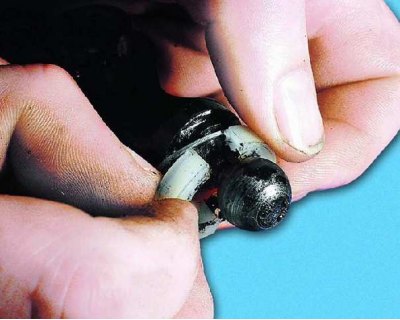
10. Having unclenched the support washer, remove it from the lever.
11. Remove the support ring from the lever.
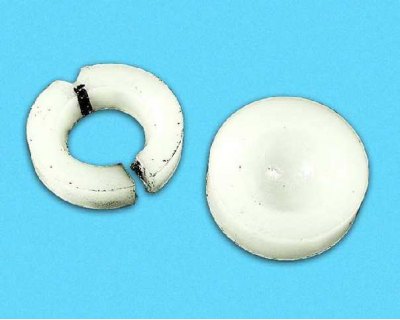
12. Replace broken or badly worn thrust washer and ball joint.
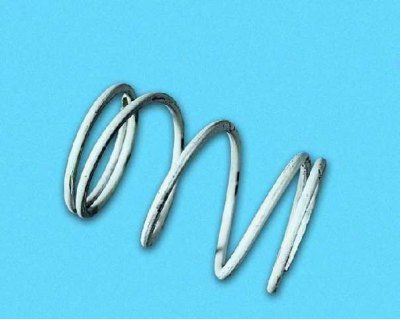
13. Replace broken or deformed spring.
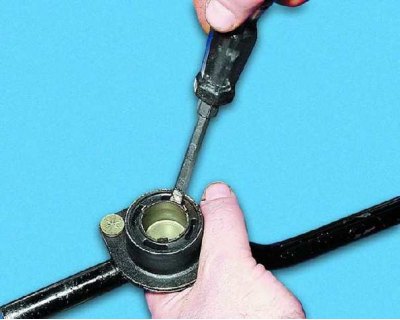
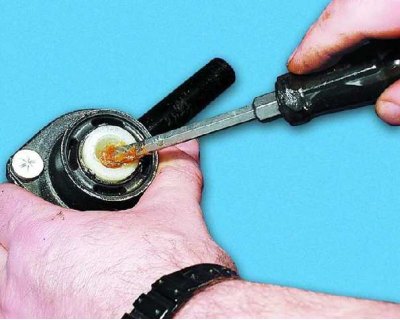
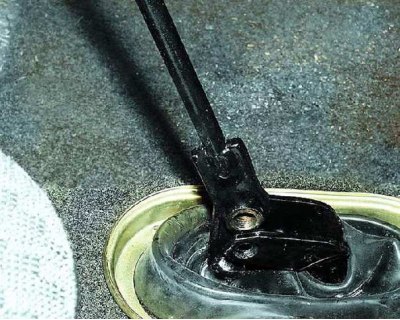
14. Try to wring out the rubber insert of the clip with a screwdriver. If the rubber comes off the metal parts, replace the clip.
15. To replace the cage, unscrew the two nuts securing the jet thrust to the cage of the ball joint of the lever.
16. Note that there is a spring washer under each nut.
17. Assemble the shift lever in the reverse order of disassembly, while lubricating the ball joint and...
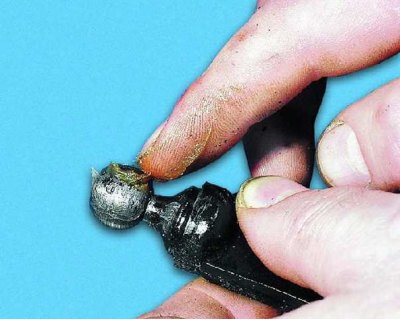
18.... the ball pin of the lever with grease.
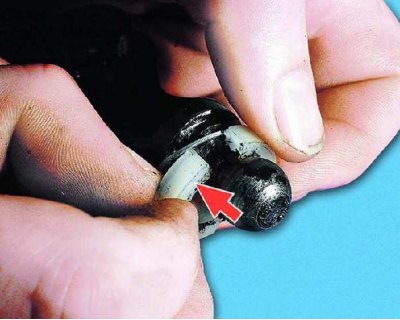
19. When installing the support washer, note that its flat part must face the ball joint.
20. Install the lever in the reverse order of removal. In this case, the inclined part of the lever should be turned towards the rear of the car.