
- keys "on 10", "at 13", "at 17" And "at 19"
- stop for gearbox
Disconnect the wire from the terminal "–" battery.
Drain the gearbox oil.
Remove the starter.
Loosen the hub nuts and front wheel nuts.
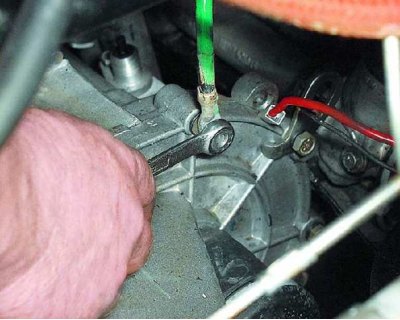
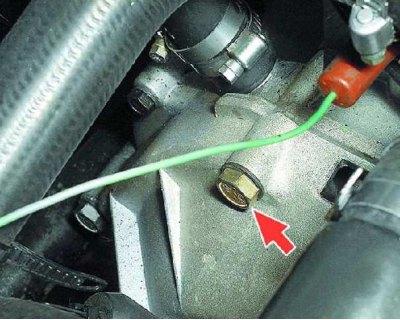
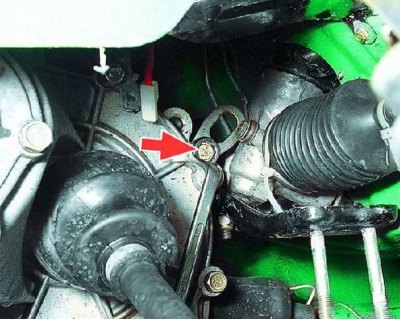
1. Loosen the tip nut "mass" wires to gearbox and...
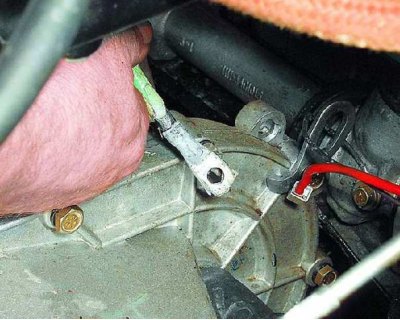
2....disconnect it from the gearbox.
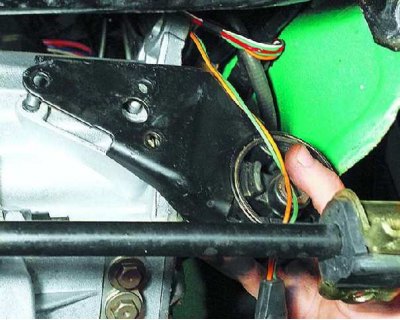
3. Disconnect the drive cable from the clutch release fork and the bracket on the rear cover of the gearbox and move it to the side (see subsection 11.2.6.).
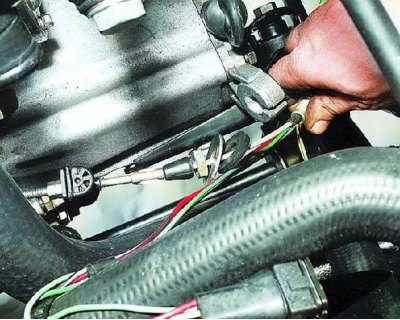
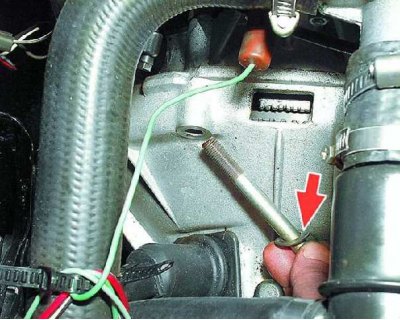
4. After unscrewing the fastening nut, disconnect the speedometer drive cable from the gearbox.
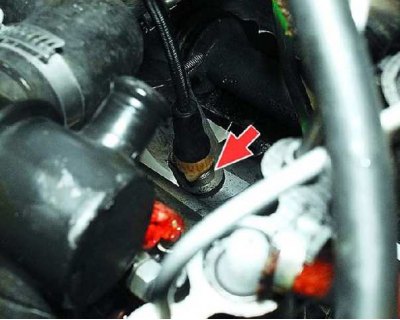
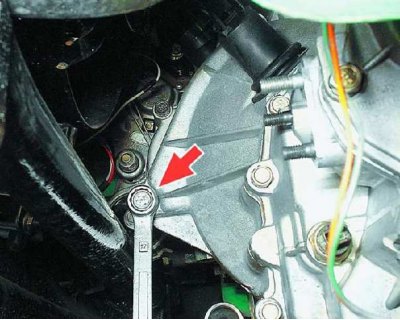
5. Remove the upper bolt securing the gearbox to the engine.
6. Please note: there is a spring washer under the bolt head.
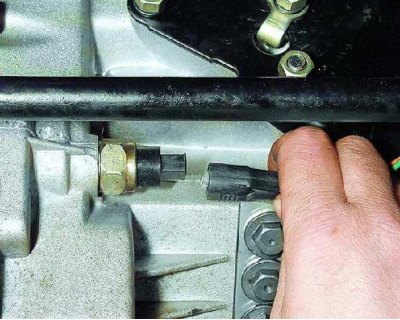
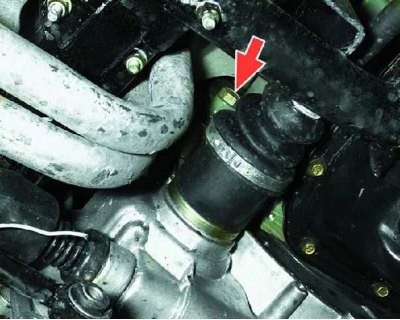
7. Disconnect the wiring harness from the reversing light switch.
8. Loosen the three mounting screws (spring washers are installed under the bolt heads) And...
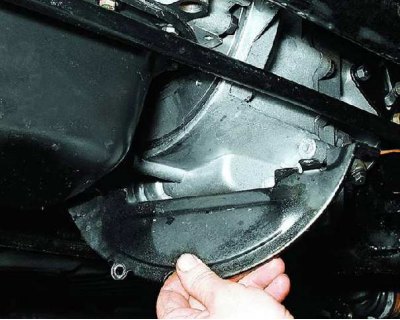
9....remove the lower shield of the clutch housing.
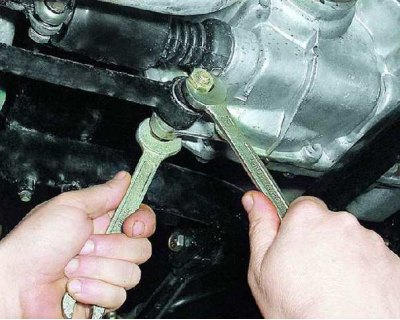
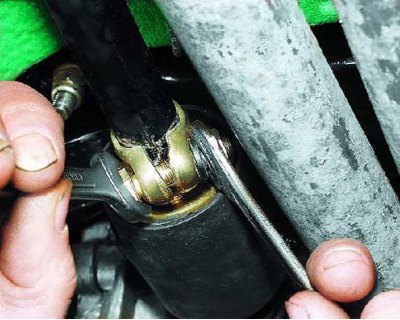
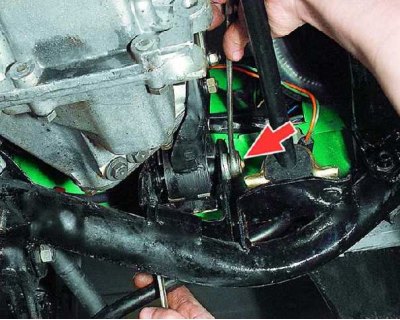
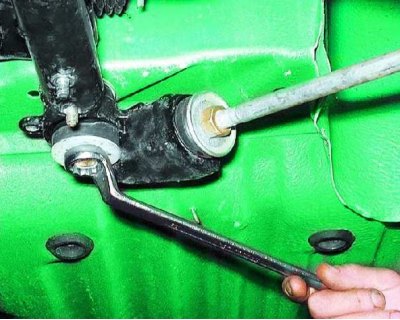
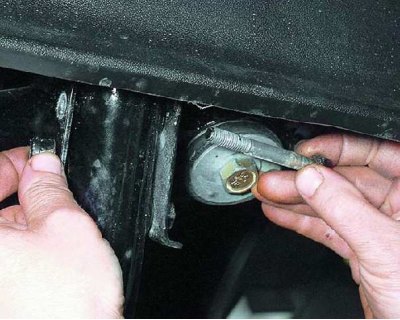
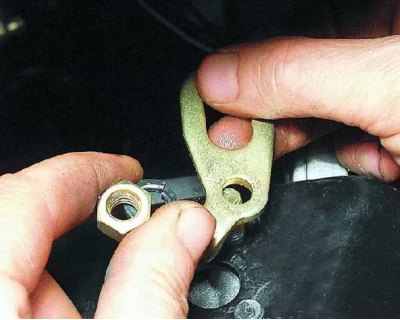
10. Holding the second wrench on the bolt of the jet thrust from turning, unscrew the nut.
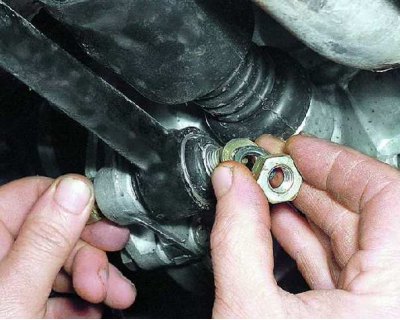
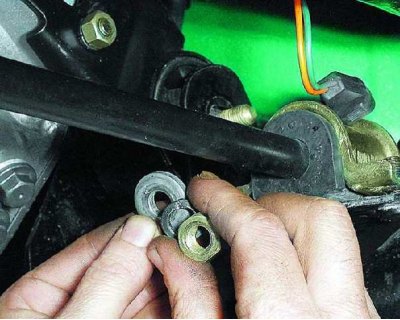
11. Please note: spring and flat washers are installed under the nut.
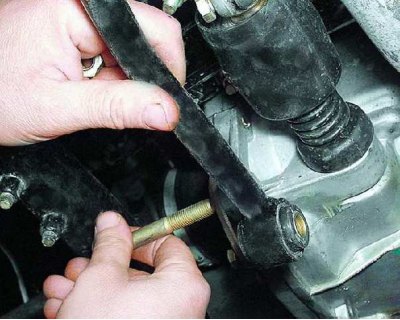
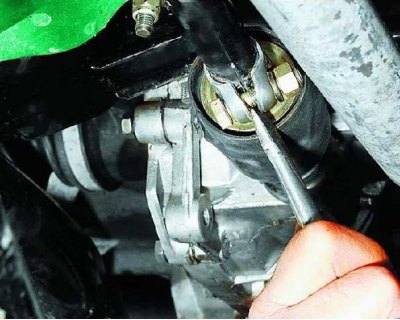
12. Disconnect the torque arm from the gearbox by removing the bolt.
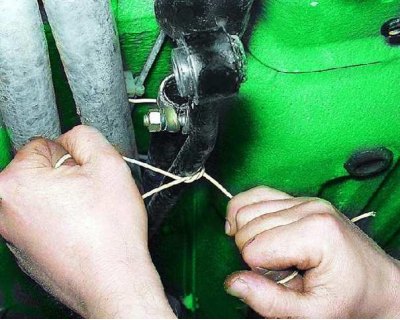
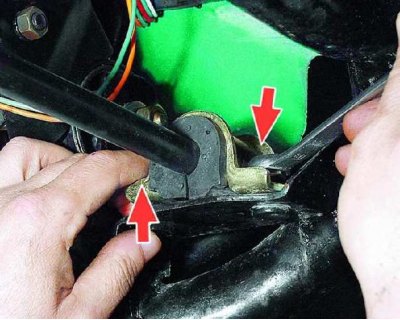
13. Loosen the clamp securing the gearshift linkage to the gear selector rod pivot.
14. Unclip the clamp with a screwdriver.
15. Disconnect the gearshift linkage from the gear selector rod pivot.
16. Hang both rods from the exhaust pipe.
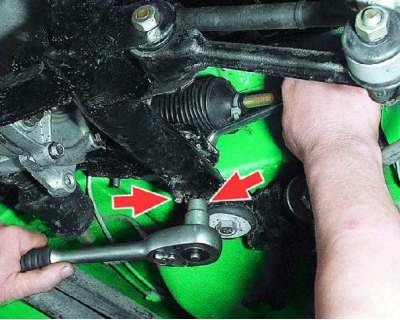
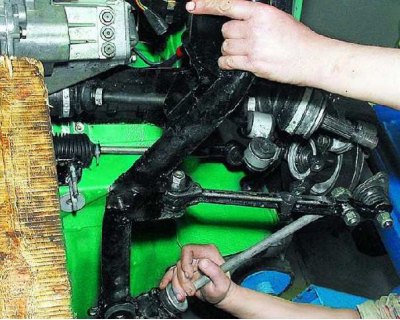
17. Unscrew the two nuts securing the steering gear support to the left longitudinal tube of the subframe.
18. Loosen the two nuts securing the crossmember to the subframe.
19. Note that there is a spring washer under each nut.
20. Remove the cross member from the studs.
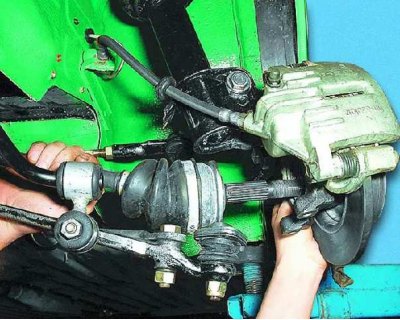
21. Loosen the hub nuts and remove the shanks of the outer hinges from the hubs of both front wheels (see subsection 11.3.1.).
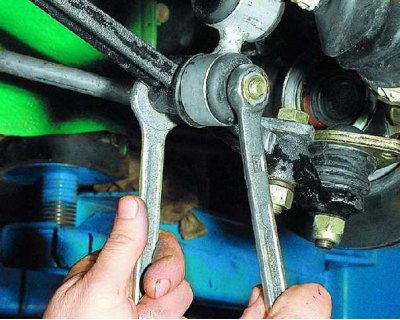
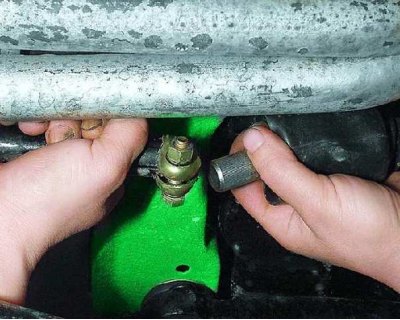
22. On the left side, holding the bolt of the stabilizer strut to the lever with the second wrench, unscrew the nut (there is a spring washer under the nut).
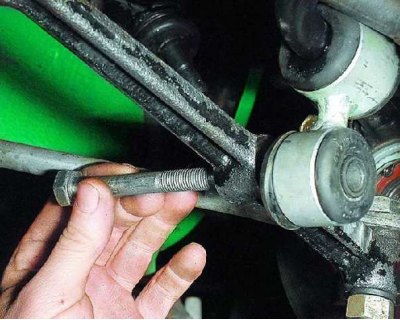
23. Disconnect the strut from the suspension arm by removing the bolt.
24. After unscrewing the two fastening nuts, remove the stabilizer bar mounting bracket from the studs on the left side.
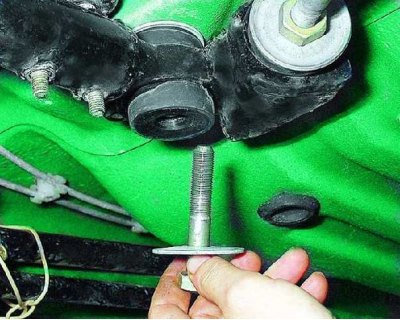
25. Holding the second wrench against turning the bolt of the left support of the power unit to the bracket of the left longitudinal tube of the subframe, unscrew the nut.
26. Please note: spring and flat washers are installed under the nut.
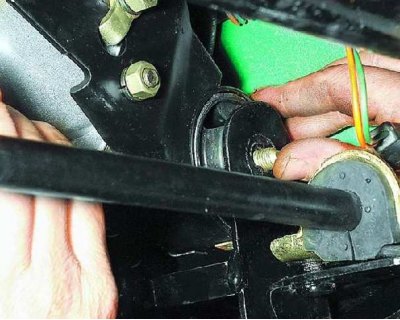
27. Remove the bolt from the support.
28. Note that there is a flat washer under the bolt head.
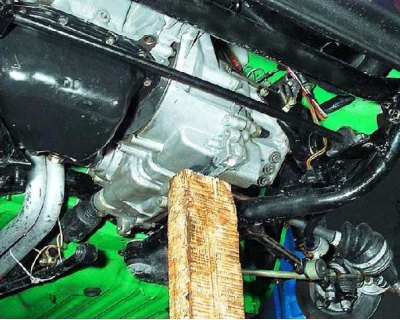
29. Place a secure stop under the gearbox.
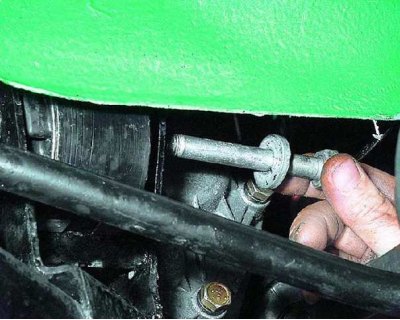
30. Unscrew the bolt of the rear fastening of the left longitudinal tube of the subframe to the body and...
31....remove the bolt with thrust washer.
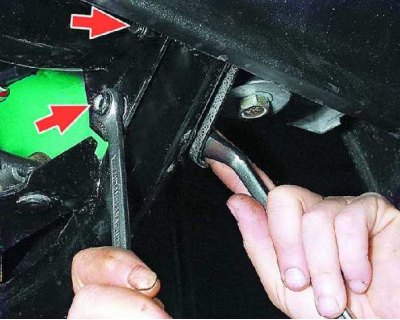
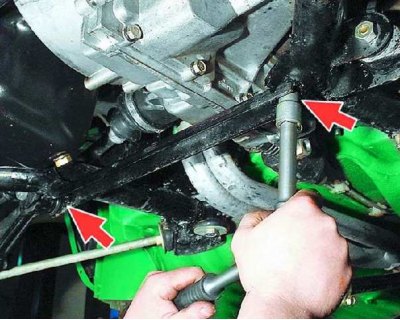
32. Unscrew the nuts of the two bolts of the front fastening of the left longitudinal tube of the subframe, holding the bolts from turning with the second wrench.
33. Remove the bolts while holding the subframe tube.
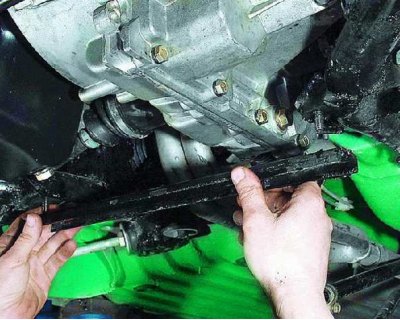
34. Remove the left longitudinal tube of the subframe assembly with the suspension arm and extension.
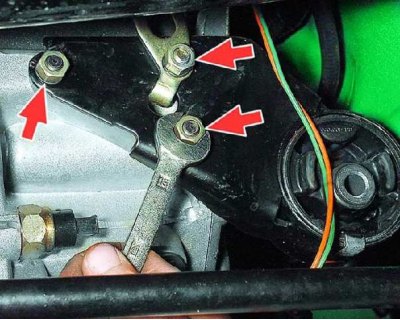
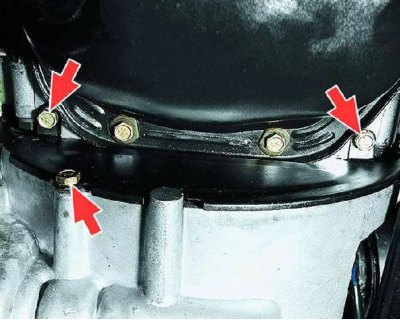
35. Remove the three nuts securing the support bracket to the gearbox.
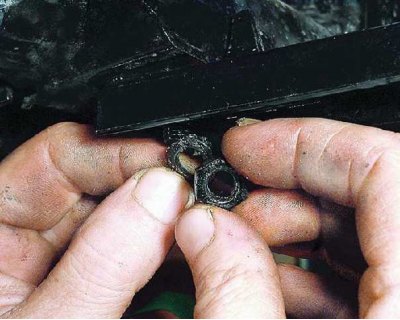
36. Please note: spring washers are installed under the nuts, and...
37.... an eye is also installed under the top nut.
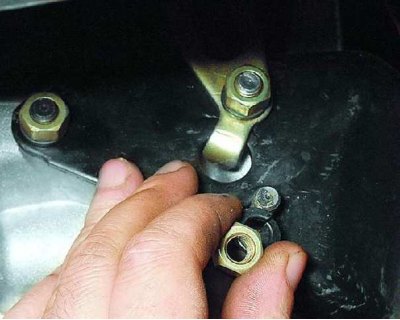
38. Remove the bracket with support from the mounting studs.
39. Remove the lower right bolt securing the gearbox to the engine (the bolt is located above the right inner constant velocity joint).
40. Remove the lower left bolt securing the gearbox to the engine.
41. Loosen the bolt securing the gearbox housings, under which the eye is installed.
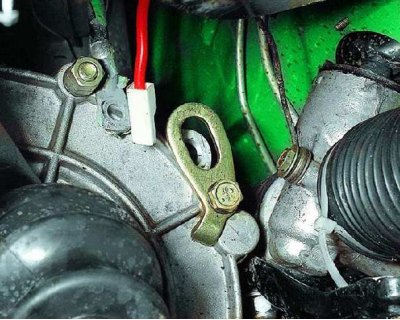
42. Turn the eyelet so that it does not interfere with the removal of the gearbox.
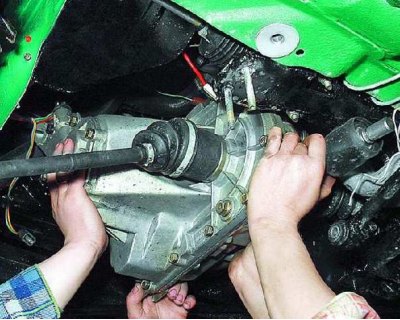
43. Move the gearbox back so that the input shaft disengages, being careful not to damage the clutch diaphragm spring petals.
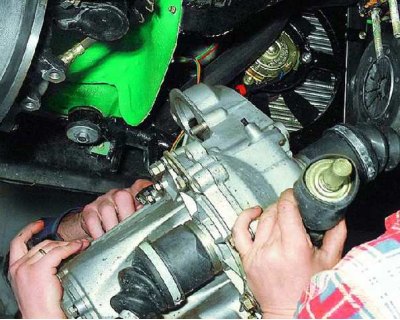
44. After lowering the rear of the gearbox, remove it from under the vehicle. Install the gearbox in the reverse order of removal. Fill with oil, adjust the clutch drive (see subsection 11.2.7.) and gearshift drive (see subsection 11.1.12.).