




Attention! Before performing the operation, read the safety rules for servicing and repairing the power supply system (see "Safety precautions for maintenance and repair of the power supply system").
Removal
1. Relieve the fuel pressure in the fuel line (see "Fuel line - pressure relief").
2. Remove the receiver (see "Engine receiver 21114 (1.6i 8v) - removal, replacement of seals and installation").
Comment.The receiver does not need to be removed, but then it will be difficult to ensure the necessary cleanliness of the injectors during assembly.
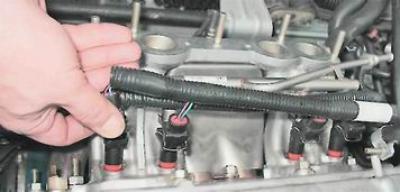
3. By pressing the spring clips, disconnect the wiring harness connectors from the four injectors.
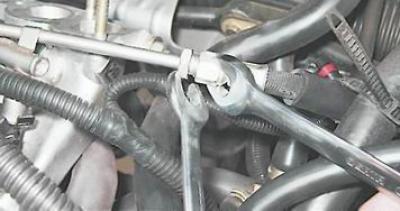
4. With an open-end wrench by 17 mm we unscrew the fuel rail fitting, holding the hexagonal end of the fuel line hose with a wrench of the same size.
5. We move the end of the hose away from the fuel rail fitting and, using a slotted screwdriver, remove the rubber sealing rings from the ends of the tubes.
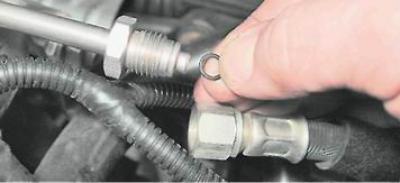
Warning! Replace damaged sealing rings.
6. With a hex key by 5 mm we unscrew the two bolts securing the fuel rail to the intake manifold.
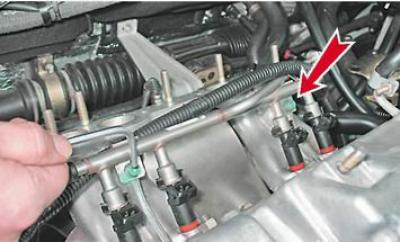
7. Remove the fuel rail assembly with injectors.
Warning! Be careful, there is a small amount of fuel left in the fuel rail.
Disassembly
8. Using a slotted screwdriver, remove the retainer.
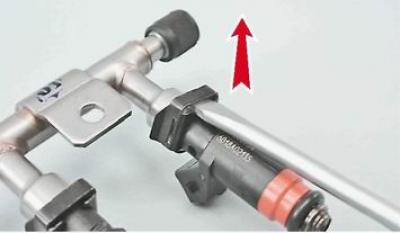
9. Remove the injector from the fuel rail.
The text is on the website VazBook.ru
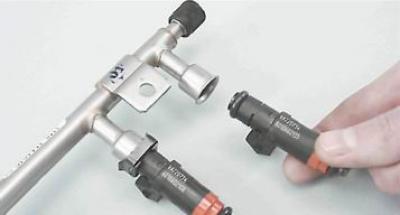
10. Remove the other three injectors in the same way.
Warning! The connections of the injectors to the fuel rail and to the intake manifold are sealed with rubber rings. Replace damaged sealing rings.
11. If necessary, use a metal cap from the wheel nipple to unscrew the valve stem of the diagnostic nipple.
Assembly and installation
We assemble and install the fuel rail in the reverse order. Before assembly, lubricate the sealing rubber rings with engine oil.