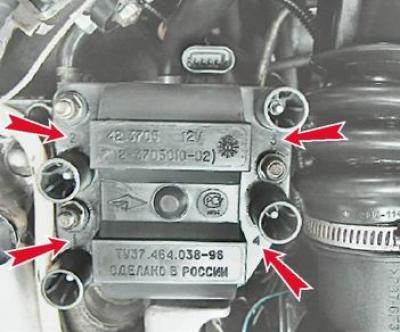
Examination
1. Prepare the car for work (see "Preparing the car for maintenance and repair"), turn off the ignition.
2. Remove the decorative engine cover (see "Engine trim - removal and installation").
3. Disconnect the high-voltage wire tips from the ignition module (see "High-voltage wires of the 2112 engine (1.5i 16v) - checking and replacement").
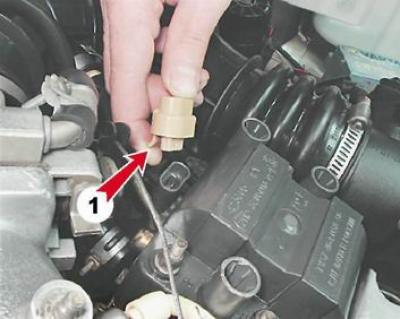
4. Having released the retainer (1), disconnect the wiring block from the ignition module.
5. After turning on the ignition, use a multimeter in voltmeter mode to measure the voltage between terminals C and D of the wiring harness connector.
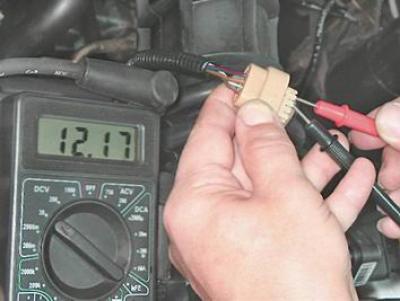
Note: The voltage must be at least 12 V. If the voltage does not reach the connector or is less than 12 V, the battery is discharged, the power supply circuit is faulty, or the ECU is faulty.
You can verify that the ignition module is faulty by replacing it with a known good one.
Removal
6. With the ignition off, use a socket wrench by 10 mm using a deep socket, unscrew the three nuts securing the ignition module.
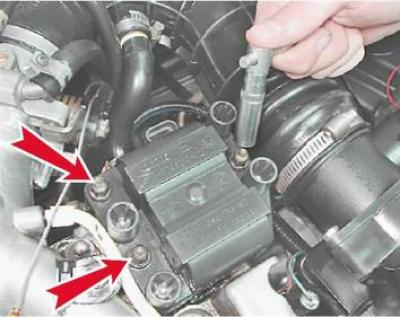
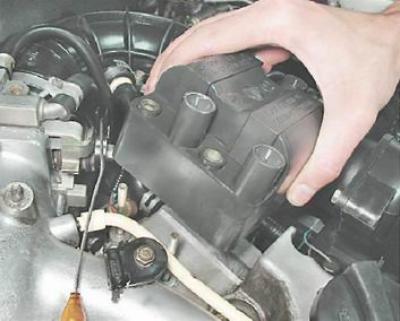
7. Remove the module from the studs.
Installation
We install the ignition module in the reverse order.
We connect the high-voltage wires to the module in accordance with the cylinder numbers printed on each wire and on the module body next to the terminals.