
Drain the oil (see Change of oil).
Draining the coolant (see Coolant replacement).
Remove the radiator with the thermostat (see Radiator replacement and Thermostat replacement).
We remove the carburetor (see Carburetor replacement).
Removing the fuel pump (see Fuel pump replacement).
Removing the ignition distributor (see Replacing the ignition distributor).
Having sketched the connection order, we disconnect hoses and wires from the engine, lighten the cylinder block, for which we remove the block head (see Replacing the cylinder head gasket).
We remove the generator (see Removing the generator).
We remove the starter (see Starter Replacement).
Removing the coolant pump (see Coolant pump replacement).
We turn off the upper or lower nuts of the engine support cushion (see Engine mount pad replacement).
We turn off the bolts of fastening to the engine of the clutch housing.
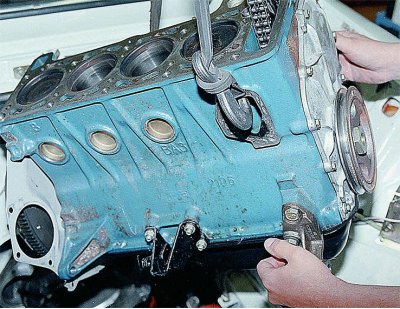
We fix the cables of the lifting device on the block and raise it. Having installed a jack under the gearbox and slightly shaking the block, we disconnect the block and the clutch housing.
We install the cylinder block on the stand.
Removing the clutch (see Replacing the pressure plate assembly and clutch release bearing).
Remove the pulley, camshaft drive cover, chain and oil pump drive gear (see Camshaft Drive Chain Replacement).
Remove the accessory drive shaft (see Accessory drive shaft replacement).
Remove the flywheel and the holder of the rear cuff of the crankshaft (see Replacement of a back cuff of a cranked shaft).
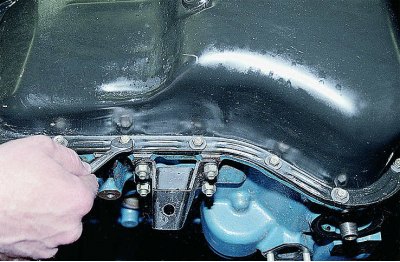
key «on 10» unscrew the fourteen bolts securing the oil pan to the cylinder block...
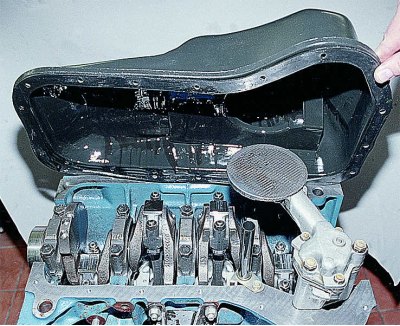
... and remove it together with the sealing gasket.
Removing the oil pump (see Removal and disassembly of the oil pump).
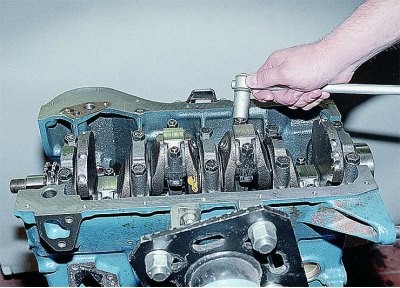
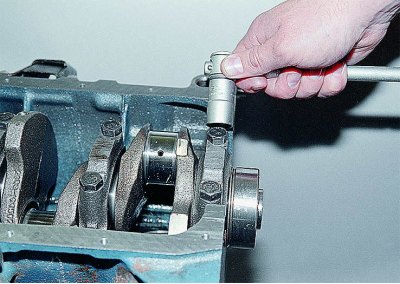
head «at 14» unscrew the two nuts securing the connecting rod cap...
... and remove the connecting rod cover.
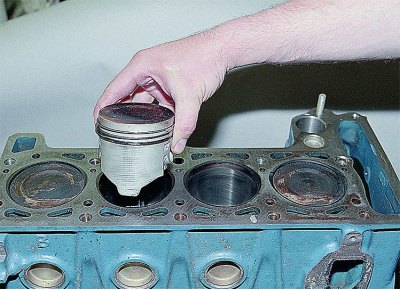
Resting the wooden handle of the hammer against the connecting rod, we push the piston out of the cylinder.
Remove the other three pistons in the same way.
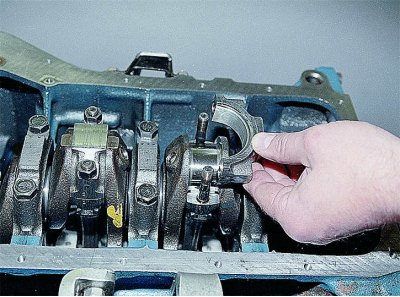
head «at 17» unscrew the two bolts securing the crankshaft main bearing cap...
...and take it off.
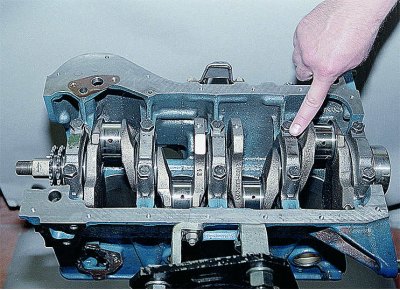
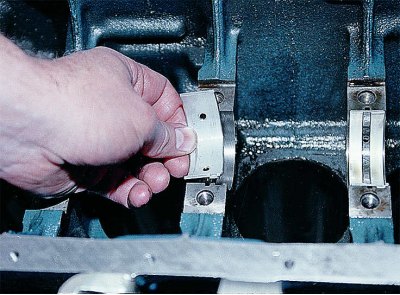
Remove the other four main bearing caps in the same way. They are labeled according to their serial number (score from the toe of the crankshaft). On the last (fifth) The lid is embossed with two marks spaced along the edges.
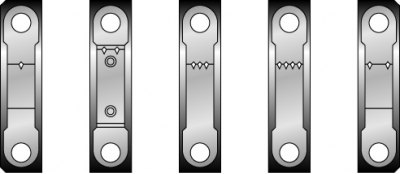
Marks on the main bearing caps.
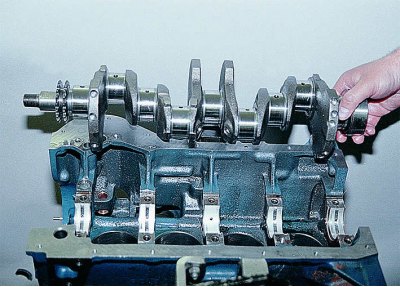
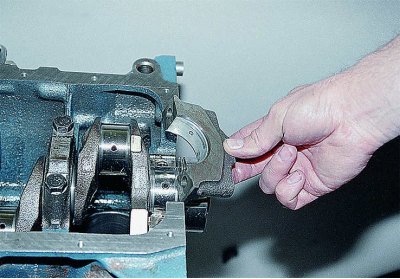
Remove the crankshaft.
From the grooves of the bed of the fifth main bearing, we take out two half rings of the crankshaft thrust bearing.
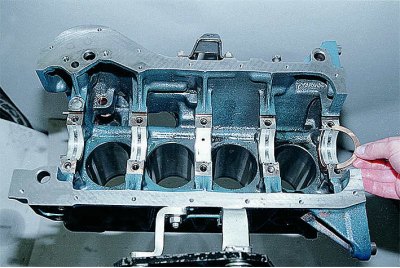
Steel-aluminum liners installed in the beds of the 1st, 2nd, 4th and 5th main bearings have a groove. The bushing of the 3rd bearing has no groove (similar to the liners installed in the main bearing caps).
Dismantling the crankshaft (see Disassembly of the crankshaft).
We take out the old liners of main bearings. We wash the cylinder block and crankshaft in diesel fuel or kerosene. We blow out their internal cavities and oil channels with compressed air.
We wipe the seats of the main bearings with a napkin and install new liners of the corresponding category (nominal or repair).
Lubricate the main and connecting rod journals of the crankshaft with engine or transmission oil and install the shaft into the block.
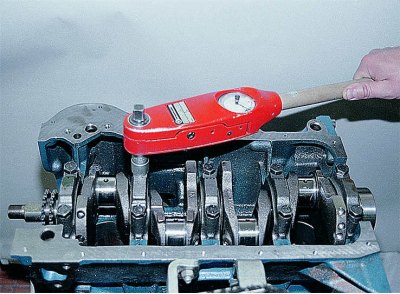
We install in accordance with the marks of the main bearing caps with new liners installed in them of the category corresponding to the crankshaft journals. Tighten the cap screws with a torque wrench (see Applications).
Check the rotation of the crankshaft. It should be light and smooth, without jamming and backlash.
We install new steel-aluminum liners in the lower heads and connecting rod caps (see Piston replacement).

Lubricate the piston, rings and cylinder walls with engine oil. We compress the rings with a special tool and turn the piston with a mark «P» to the nose of the crankshaft. With light blows of the wooden handle of the hammer on the bottom of the piston, we sink it into the cylinder.
We put on the connecting rod cover and tighten the bolts with a torque wrench (see Applications).
Further assembly of the engine is carried out in the reverse order of disassembly.