
Attention! To eliminate a specific malfunction, as a rule, only partial disassembly of the carburetor is required, in which case individual operations can be skipped.
Removing the air filter housing (see Removing the air filter housing).
Remove the solenoid valve, fuel filter, disconnect the limit switch connector (see Removing and checking the solenoid valve, Removing the carburetor fuel filter, Checking the economizer limit switch forced idling).
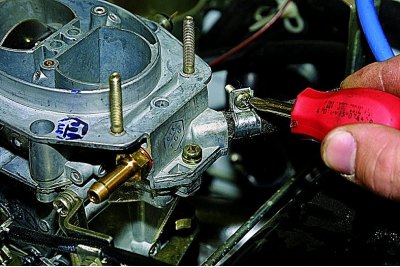
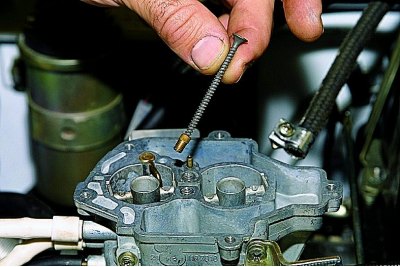
Using a Phillips screwdriver, loosen the fuel return hose clamp..
... and remove the hose from the carburetor fitting.
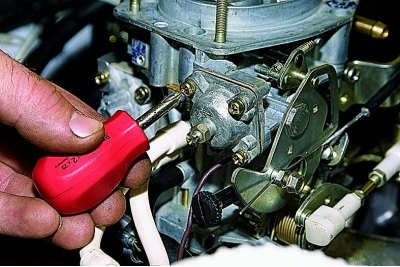
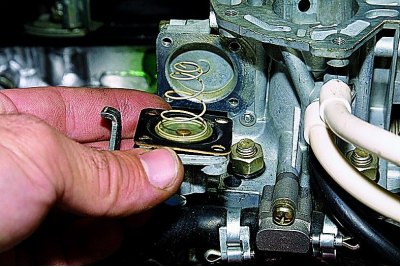
Using a Phillips screwdriver, unscrew the four screws securing the starter cover..
... and pulling out the air damper control knob, take out the cover with the diaphragm and the rod, turning it slightly so that the bent end of the rod passes through the groove of the trigger housing.
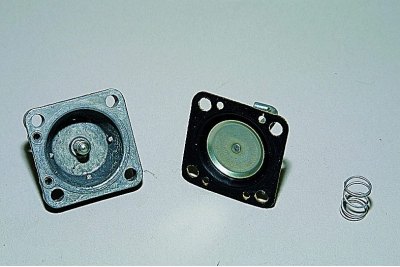
Carefully separating the diaphragm from the body, remove it and the spring under it.
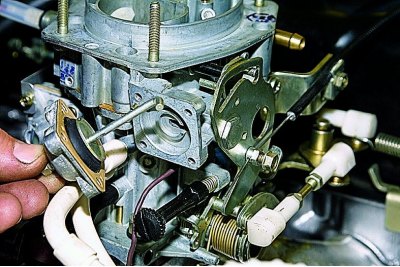
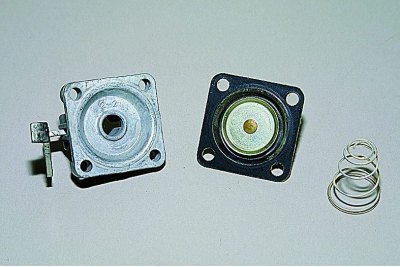
When installing the cover, align the hole on its mating surface with the hole on the edge of the diaphragm (shown by arrows) and adapter sleeve of the vacuum supply channel on the body of the starting device.
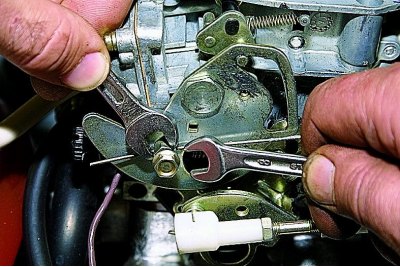
holding key «for 8» bushing for fastening the air damper cable on a three-arm lever, with another key «for 8» loosen the cable fastening bolt without unscrewing it.
Slightly pull the choke control handle so that the cable comes out of the sleeve.

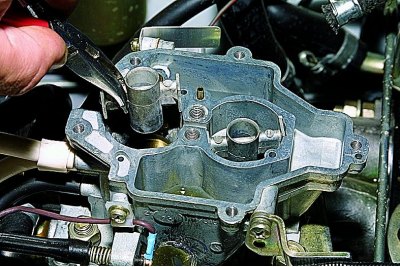
Using a Phillips screwdriver, unscrew the five screws securing the cover (four of them are in wells) …
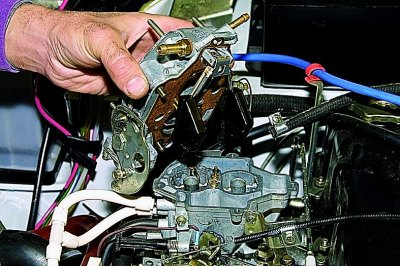
...and take it off (don't lose the screws!).
Subsequent disassembly of the cover is described at the end of the section.

We remove the rubber sealing ring from the adapter sleeve of the idle system.

Using a slotted screwdriver, unscrew the main air jets with emulsion tubes...
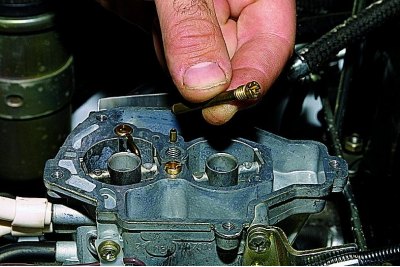
...and take them out.
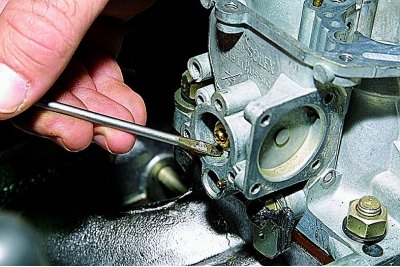
With a slotted screwdriver with a 4 mm wide blade, we turn out the main fuel jets.
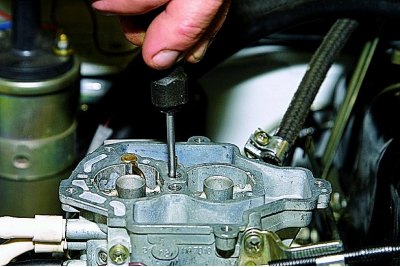
On a removed carburetor, the main fuel jets can simply be shaken out of the wells by turning the body over.
If the carburetor is on the car, it is convenient to use a sharpened stick or a long self-tapping screw.
Pliers take out small diffusers.
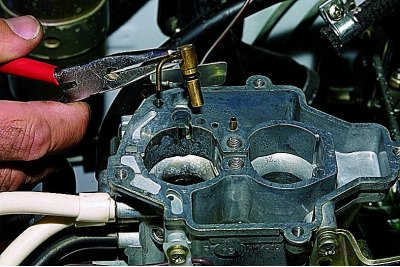
Using pliers with thin sponges, we take out the accelerator pump atomizer together with the rubber sealing ring.
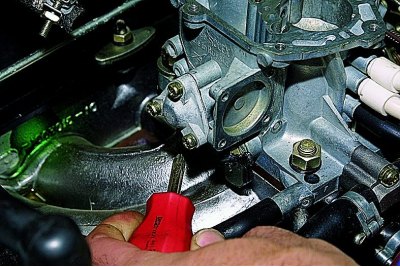
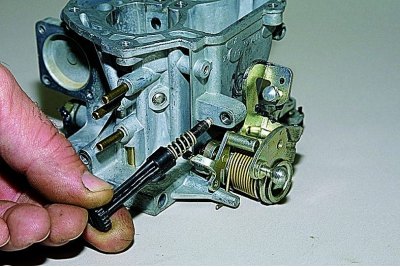
Using a Phillips screwdriver, unscrew the four screws securing the accelerator pump cover..
... and remove it together with the diaphragm and spring.
Remove the spring and carefully separate the diaphragm.
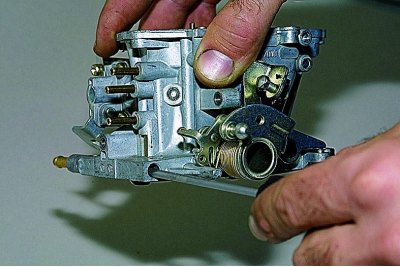
Using a Phillips screwdriver, unscrew the three screws that secure the power mode economizer cover.
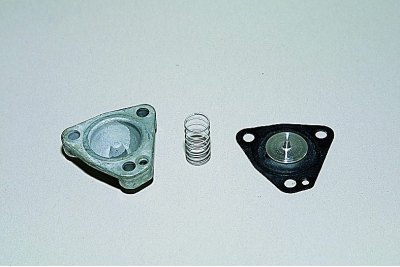
Remove the cover, spring and diaphragm.
Unscrew the economizer jet with a slotted screwdriver.
For clarity, further operations are shown on the removed carburetor.
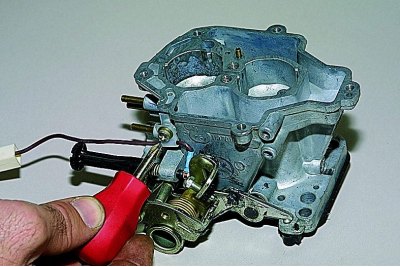
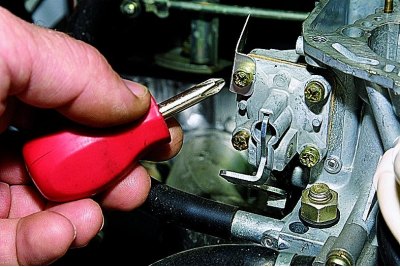
Using a Phillips screwdriver, unscrew the screw of the plastic wire holder of the limit switch and...
... disconnect the wire from the limit switch.
We unscrew the adjusting screw for the amount of idle mixture with the spring.
Using a narrow slotted screwdriver, unscrew the screw for adjusting the quality of the mixture..
... and take it out along with the rubber sealing ring. Sometimes you have to drill into the edge of the carburetor body and use a wire hook to do this.