




We mark the location of the coupling relative to the flange,…
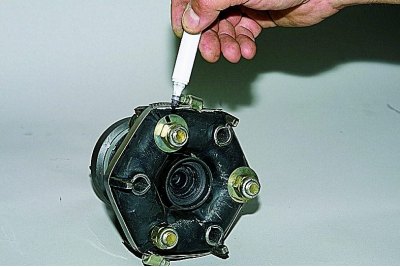
…as well as the number and location of balancing washers relative to the coupling.
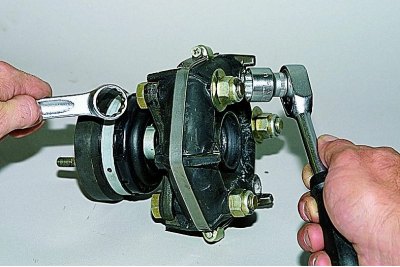
Holding the bolts from turning with a 19 mm wrench, use a head of the same size to unscrew the three nuts.
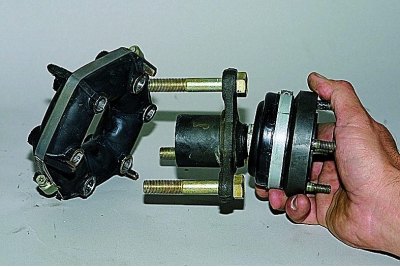
We disconnect the coupling and the flange.
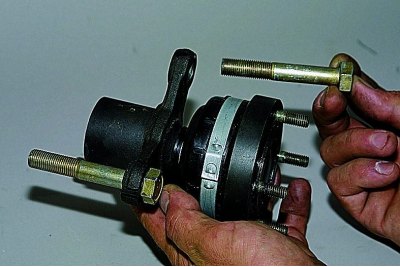
By turning the hinge, we remove the bolts from the holes in the elastic coupling flange.
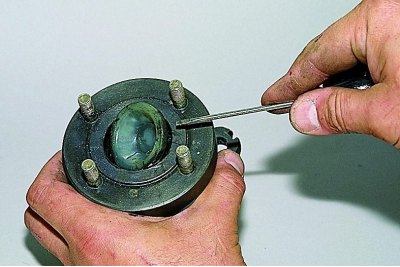
Using a screwdriver, we remove the plastic plug.
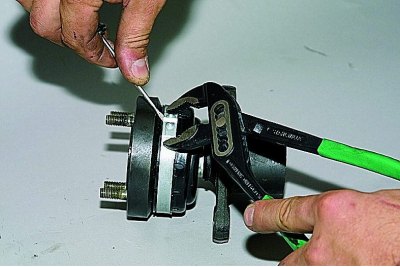
Squeezing the clamp with sliding pliers, we remove it.
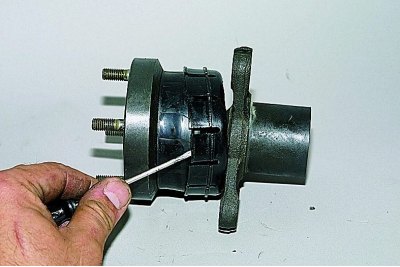
We move the plastic casing with a screwdriver..
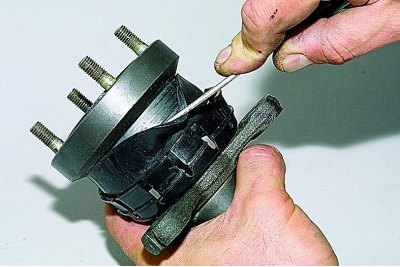
…and remove the rubber protective cover from the constant velocity joint housing.
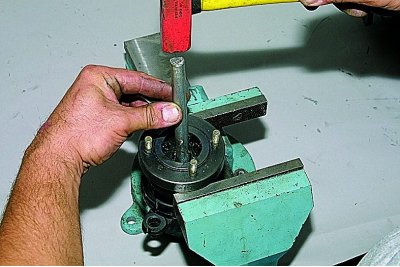
We place the hinge body on the open jaws of the vice and, striking the end face of the elastic coupling flange with a soft metal punch, knock out the flange.
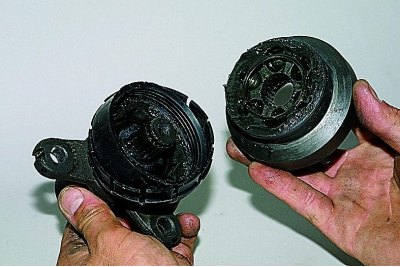
Separate the hinge and flange.
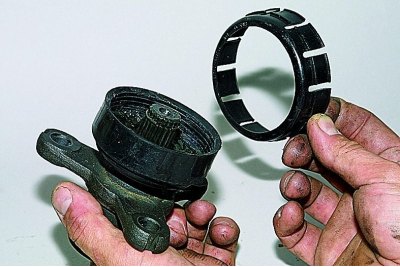
We pull the plastic casing off the rubber cover.
Pulling back the rubber cover,…
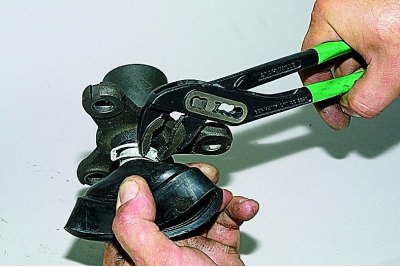
…we squeeze the clamp with sliding pliers and remove it.
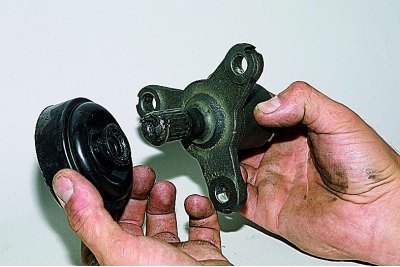
Remove the rubber protective cover.
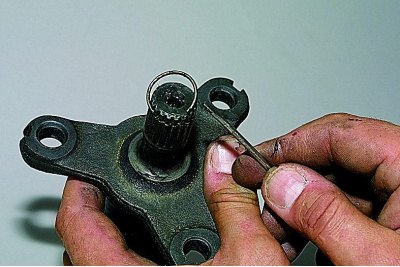
Using a screwdriver, remove the hinge retaining ring.
Disassembly and assessment of the condition of the hinge parts are similar to the corresponding operations described in ChapterFront wheel drives.
We assemble the intermediate shaft in the reverse order. We put 20 cm³ of SHRUS-4 grease into the disassembled or new joint. Before connecting the joint to the flange of the elastic coupling, we install a small clamp of the rubber protective cover.
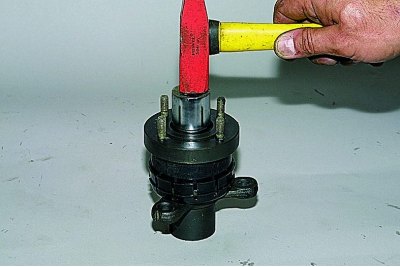
We press the hinge onto the flange, striking the hinge collar through a section of pipe.
[View the original on the internet resource: VAZBOOK.ru]
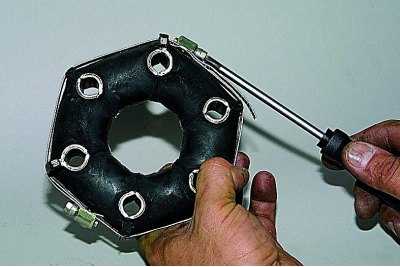
Before installing the rubber coupling, we tighten it with a clamp.
The used coupling is positioned according to the marks relative to the flange. The old balancing washers are positioned according to the marks relative to the coupling. When installing a new coupling, balancing of the shaft assembly may be required.