
Attention! We carry out work on a viewing ditch or a lift.
Disconnect «negative» battery wire.
Remove transfer box with intermediate shaft (see Removing the transfer case).
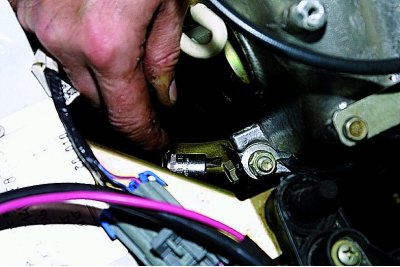
Disconnect the wires from the reversing light switch (see Replacement of the switch of lanterns of a backing).
Having unscrewed the bolts securing the clutch slave cylinder to the clutch housing (see Removing the clutch slave cylinder), move the cylinder forward without disconnecting the hydraulic drive.
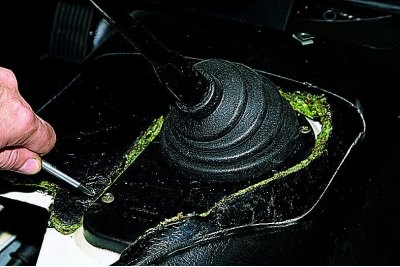
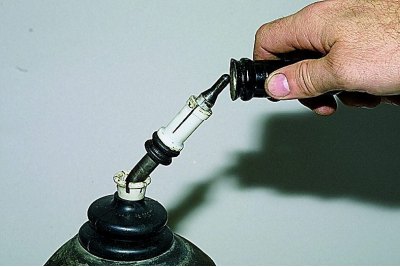
In the cabin, use a Phillips screwdriver to unscrew the two screws securing the plastic cover of the gear lever.
Having removed the handle from the lever rod,..
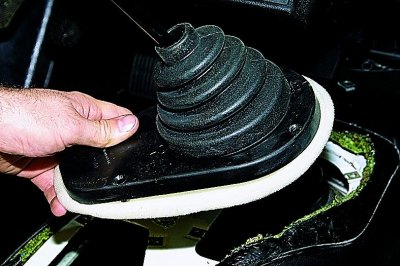
... remove the cover with a rubber boot.
For clarity, the operations for removing the lever rod are shown on the dismantled gearbox.
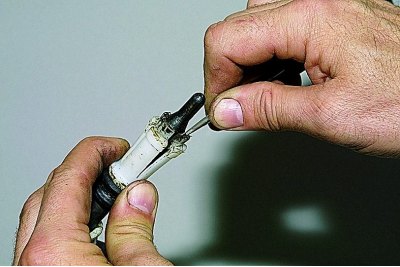
Pressing the lever rod down,..
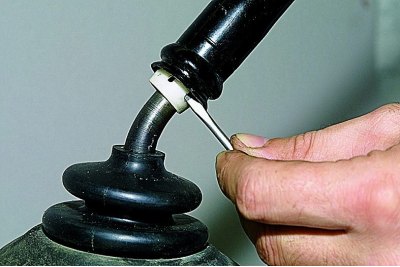
... pry off the petals of the locking sleeve with a screwdriver..
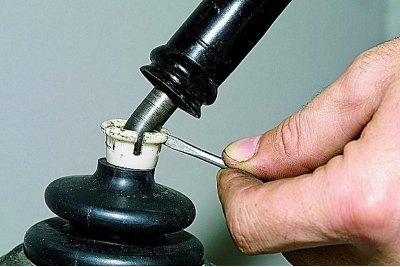
... and take them out of the annular groove of the rod.
Remove the shift lever rod.
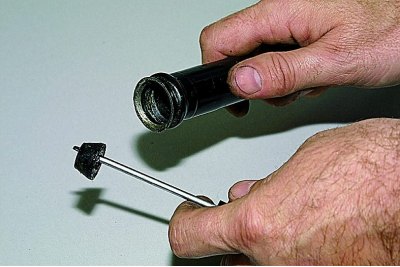
Using a screwdriver, open the petals of the remote sleeve..
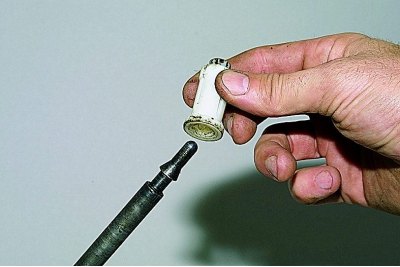
... and remove it from the lever.
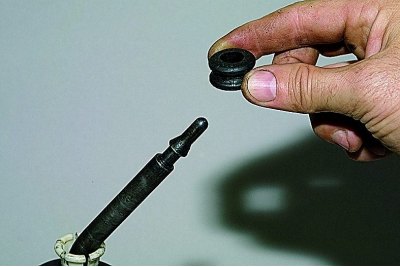
We remove the rubber elastic from the lever..
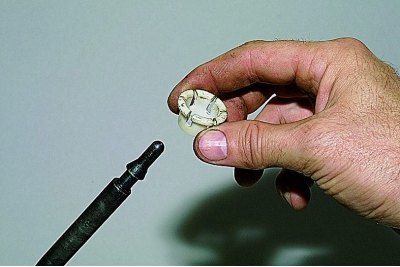
...and a locking sleeve.
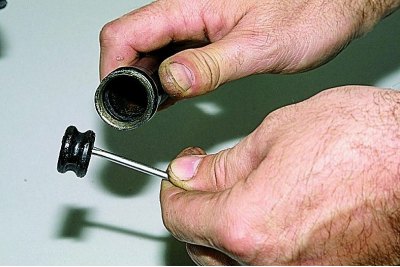
Prying with a screwdriver, we remove another elastic sleeve from the hole of the lever rod..
...and a stubborn pillow.
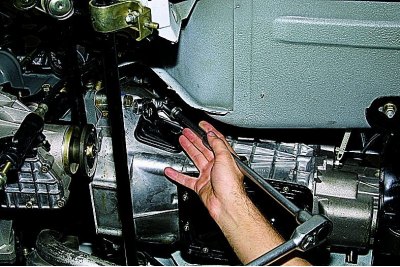
Loosen the bolts securing the starter to the clutch housing (see Removing the starter).
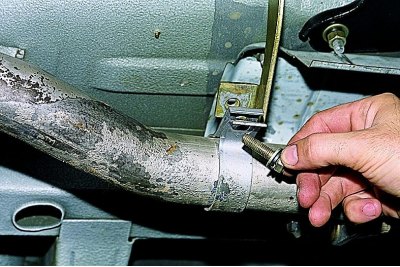
On a VAZ-21214 car, by unscrewing the upper starter mounting bolt, we release the lower end of the rear support bracket of the engine intake pipe.
head «at 13» unscrew the bolt securing the upper end of the support bracket to the intake pipe..
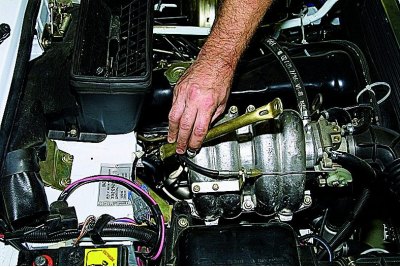
... and remove the bracket.
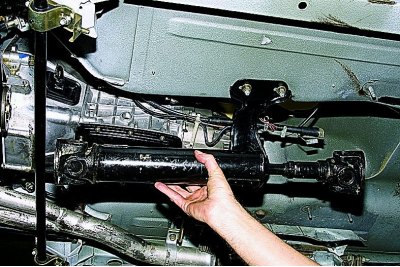
Removing the front propeller shaft (see Removing the cardan shaft).
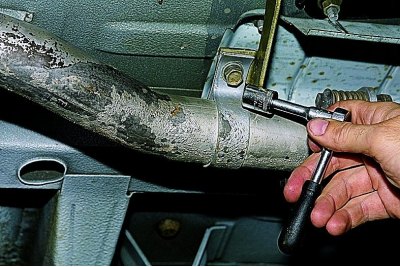
key «on 10» unscrew the four bolts securing the clutch housing cover.
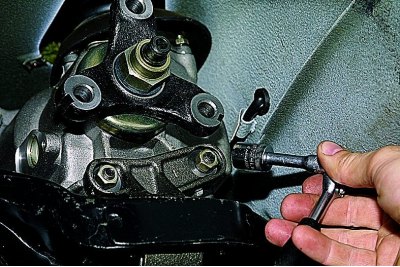
head «at 13» unscrew the bolt securing the intake pipe clamp to the bracket.
We take out the bolt.
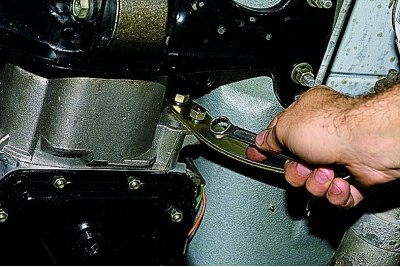
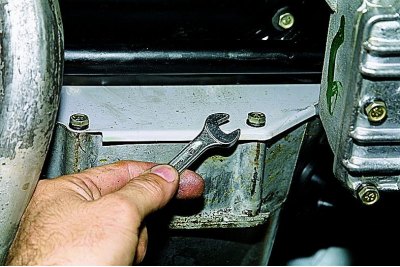
ring wrench «at 13» unscrew the two nuts securing the bracket to the gearbox.
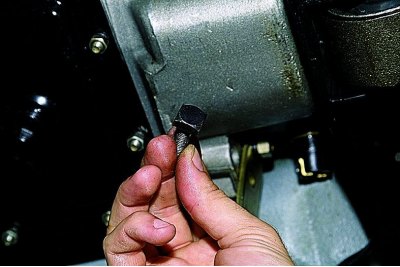
We take out «mortgage» bolt.
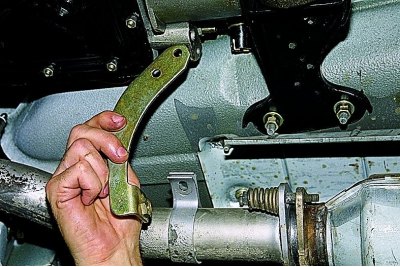
We remove the bracket.
head «at 19» with a cardan joint and an extension, unscrew the four bolts securing the gearbox to the cylinder block.
head «at 13» unscrew the two nuts securing the gearbox support bracket (third support of the power unit).
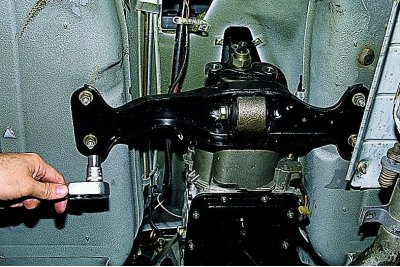
head «at 13» unscrew the four nuts securing the cross member of the rear suspension of the power unit to the body.
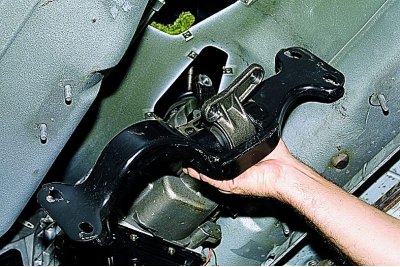
We remove the cross-beam with a support.
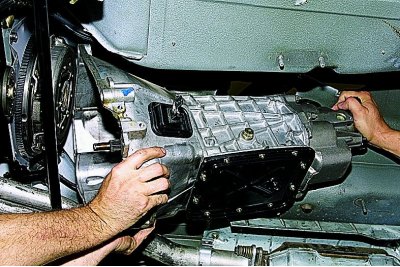
Having given a transmission back, we remove it.
When removing or installing the gearbox, the gearbox input shaft must not be supported on the clutch units so as not to damage them.
Install the gearbox in reverse order.
Before installation, apply a thin layer of SHRUS-4 grease to the splined end of the input shaft. After installing the box, we adjust the free play of the pusher of the clutch fork (see Clutch Release Drive Adjustment).
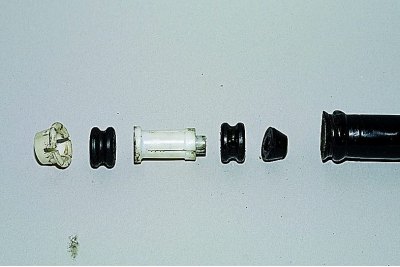
Before installing the rod on the gear lever, insert the pillow and bushings into the hole in the rod.