
- key "at 13"
- hexagon "by 5"
- mandrel for pressing caps
- valve spring compressor
- cap removal tool
- tin rod with a diameter of about 8 mm (e.g. solder)
- tweezers
- goatee
- hammer
Disconnect the wire from the terminal "–" battery.

Special tool for replacing valve stem seals:
1 - mandrel for pressing caps
2 - a device for compressing valve springs
3 - cap remover
4 - tin rod with a diameter of about 8 mm (e.g. solder)
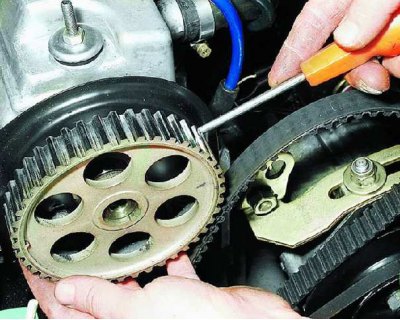
1. Remove the pulley from the camshaft (see subsection 10.4.2., operations 1–5).
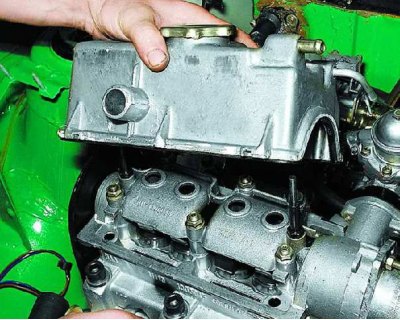
2. Remove the cylinder head cover (see subsection 10.2., operations 1–10).
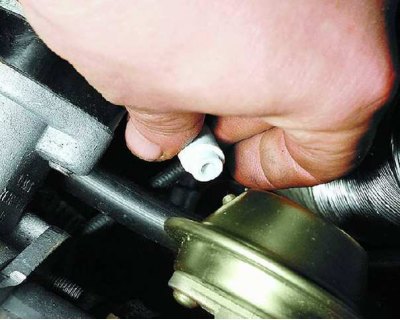
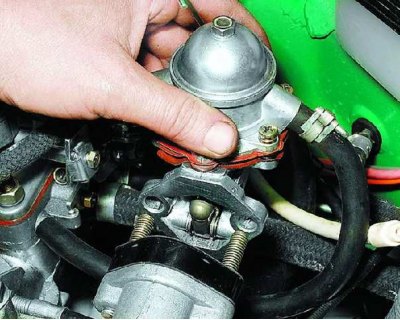
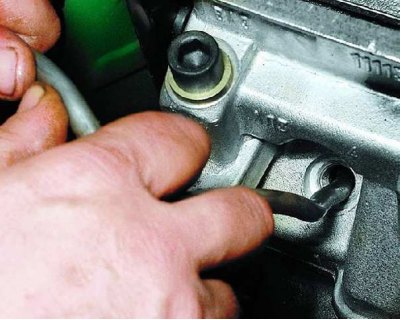
3. Disconnect the vacuum hose from the spark torque sensor vacuum regulator.
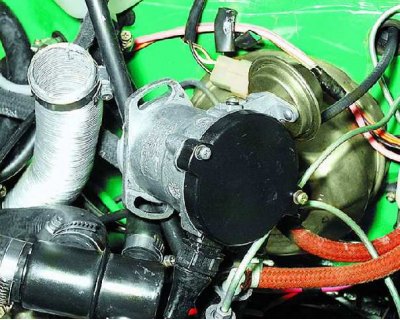
4. Unscrew the three nuts securing the spark torque sensor, remove it from the studs and take it aside without disconnecting the block with wires from it.
5. Remove the fuel pump from the accessory drive housing studs (see subsection 10.10.3.) and take it aside without disconnecting the hoses from it.
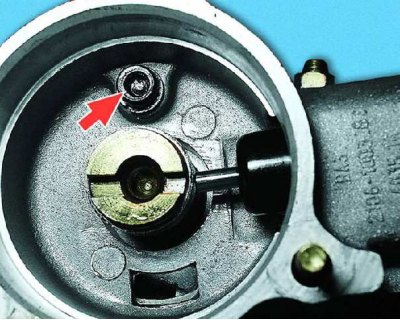
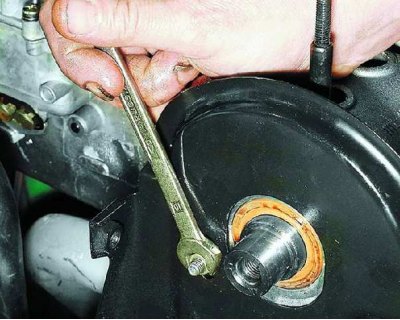
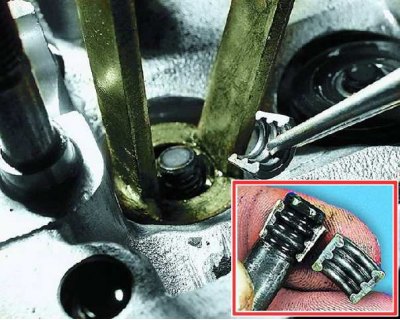
6. Loosen the accessory drive housing bolt.
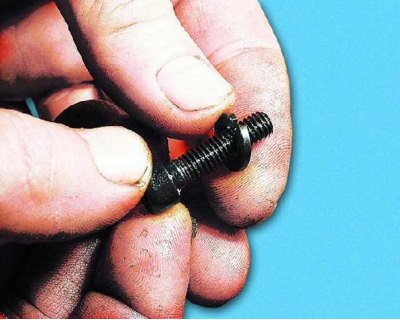
7. Please note: there is a spring washer under the bolt head.
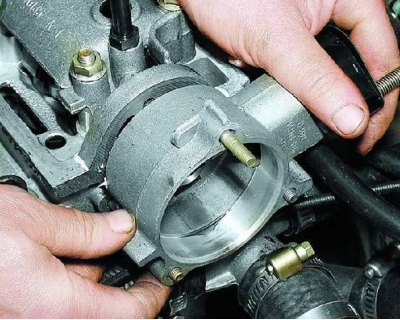
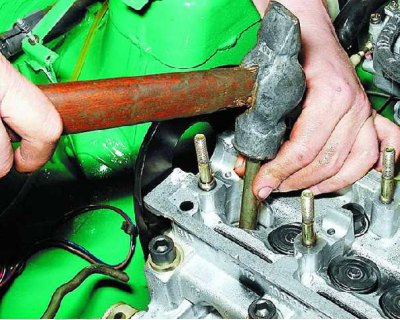
8. Remove the accessory drive housing from the studs.
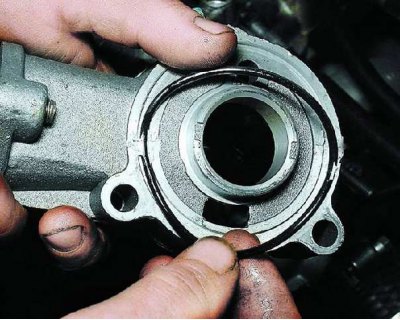
9. Check and replace a torn or loose O-ring installed in the accessory drive housing.
10. Loosen the upper fastening nut of the rear cover of the camshaft drive belt.
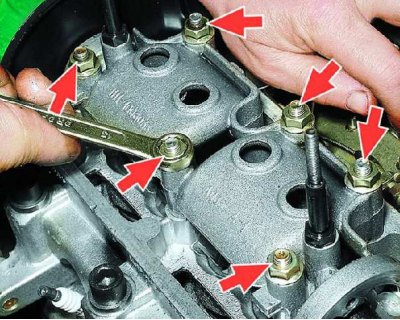
11. Remove the six nuts securing the camshaft bearing housing.

12. Please note that the nuts have serrated collars.
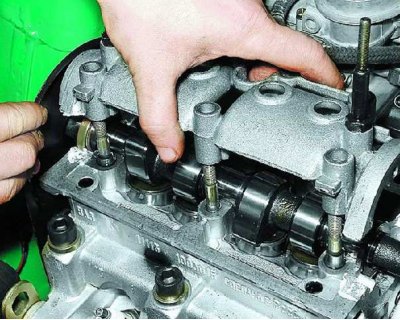
13. Remove the camshaft bearing housing.
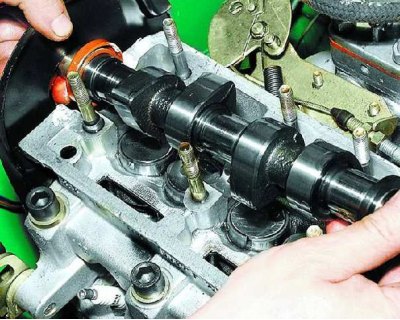
14. Remove the camshaft.
15. Remove the valve lifters.
16. Mark the pushers or arrange them in order, so that you can put them in the same place later. At the same time, without the need to remove the adjusting washers from the pushers, so as not to confuse them.
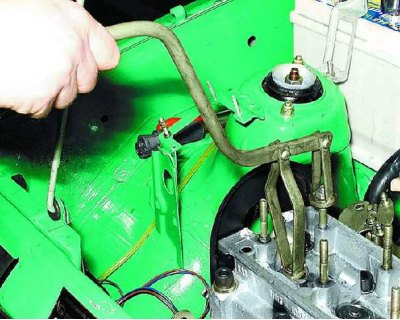
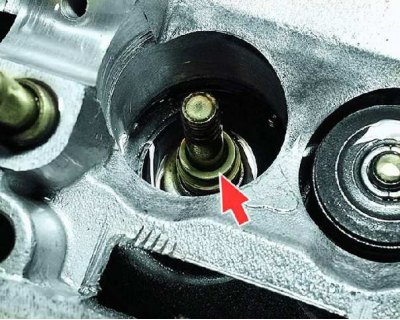
17. Turn the crankshaft so that the piston corresponding to the caps to be replaced is at TDC. With the spark plug removed, insert a tin rod through the spark plug hole between the piston and valve (so that the valve does not fall down).
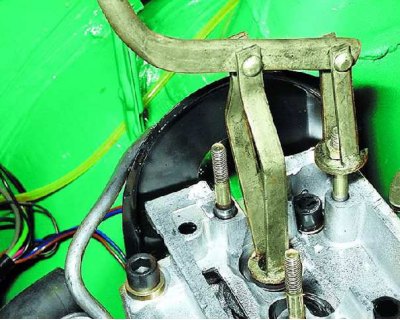
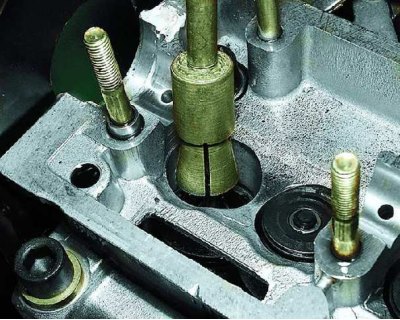
18. Install the valve spring compressor (as shown). In this case, use a nut without a serrated collar.
19. Compress the valve spring tool.
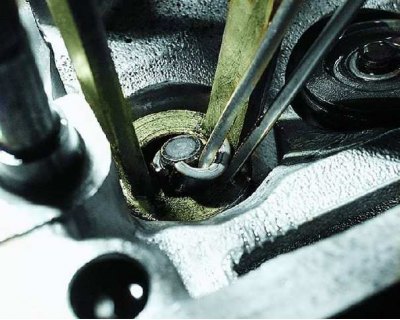
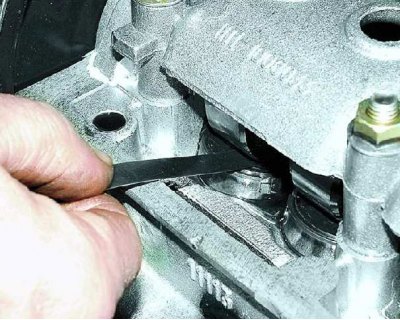
20. Remove two crackers with tweezers. Then remove the fixture.
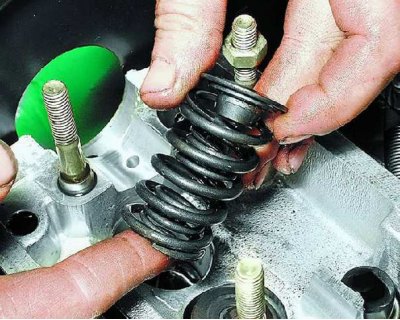
21. Remove the upper spring plate, inner and outer valve springs.
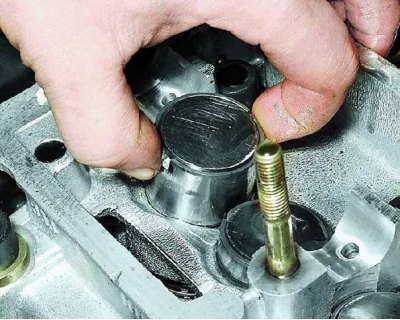
22. Press the valve stem seal off the guide bushing. For this...
23....put the fixture collet on the cap and...
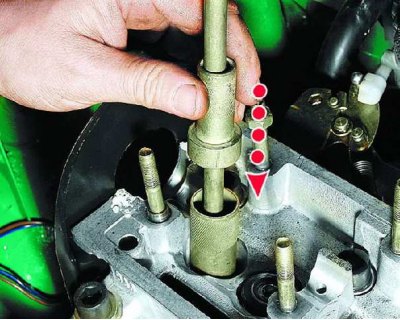
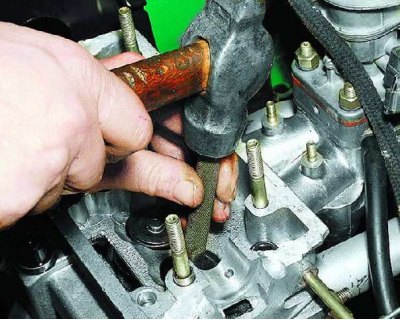
24.... sharply hit the fixture sleeve with the striker.
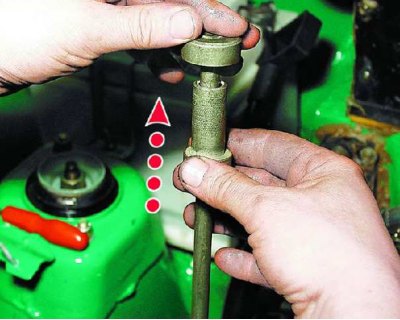
25. Then just as sharply hit the striker on the handle of the device.
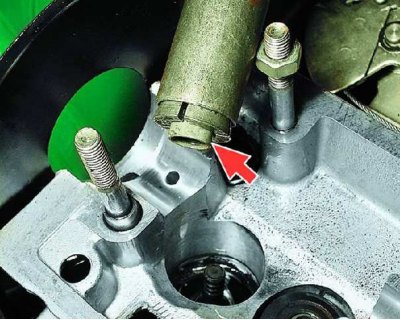
26.... thereby pressing the cap from the guide sleeve. Remove the cap from the fixture collet.
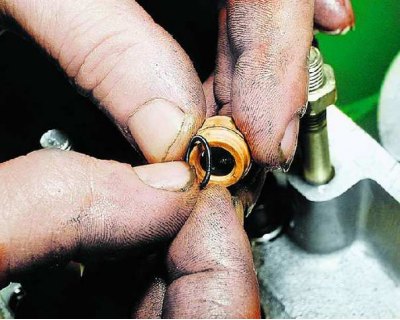
27. Before installing new valve stem seals, it is recommended to remove the springs from them. Otherwise, the caps can be damaged when they pass through the grooves on the valves.
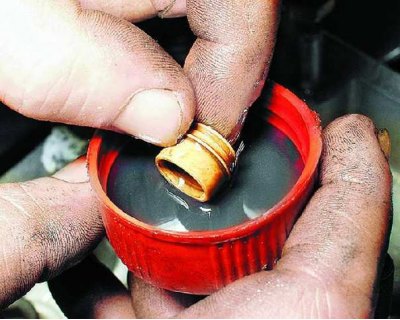
28. Dip the valve stem seals into the engine oil.
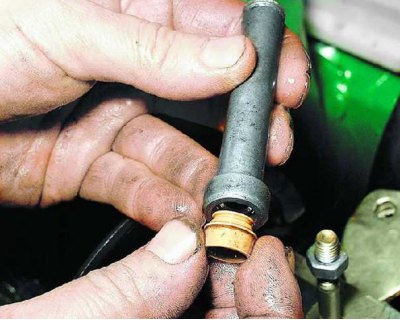
29. Insert the cap into the mandrel.
30. Carefully press the cap all the way into the bottom plate.

31. Install the spring on the cap, if it was removed. In the same way, replace the remaining valve stem seals.
32. Install the springs and upper spring plate in the reverse order of removal. Install the crackers with the tool so that they fit into the grooves of the valve stem. Remove the tin rod from the candle hole.
33. After installing the crackers, hit the ends of the valves with a hammer through the metal rod so that the crackers sit in place.
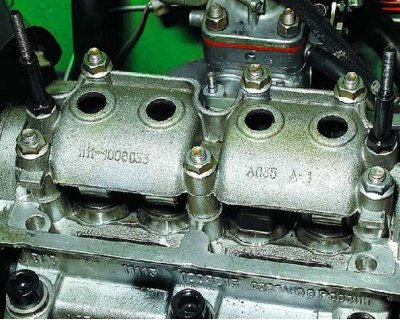
34. Reinstall pushrods, camshaft and bearing cap (see subsection 10.4.1., operations 48-54). Then turn the crankshaft until the TDC marks on the flywheel and the scale of the rear oil seal holder are aligned (see subsection 10.1.) and install the camshaft drive belt (see subsection 10.3.2.).
35. Check valve clearances and adjust if necessary (see subsection 10.2.). Install all parts, connect hoses and wires in the reverse order of removal.